

The script packages and individual scripts linked on this page are protected downloads and
require a password.
Why Contextual Banners Matter
Contextual Banners provide users with targeted security insights based on xorlab’s analysis, appearing at the top of the email body. They highlight risks such as low sender trust, potential partner impersonation, or suspicious attachments. Unlike generic warnings, these banners are selectively applied to reduce alert fatigue, ensuring that users remain attentive to truly relevant threats. Examples of different types of banners, categorized by severity:-
Alert (Red) banners: Critical warnings for high-risk messages.\

-
Warning (Orange) banners: Moderate risks that require user attention.

-
Information (Blue) banners: General insights without immediate action required.

How It Works
Contextual Banners highlight security risks based on matched detection rules:- XSP adds an
x-xor-bannerheader to flagged emails. - The header includes a banner identifier.
- Exchange mail flow rules detect the identifier.
- If a match is found, the banner is added to the email body.
- Emails with a
x-xor-bannerheader appear in XSP with the#bannertag.
Configuration in XSP
Optional FeatureThe Contextual Banners feature is optional and the configuration options are disabled by default. To enable this feature, please contact support@xorlab.com to add it to your subscription.
- Log in to the xorlab Security Platform.
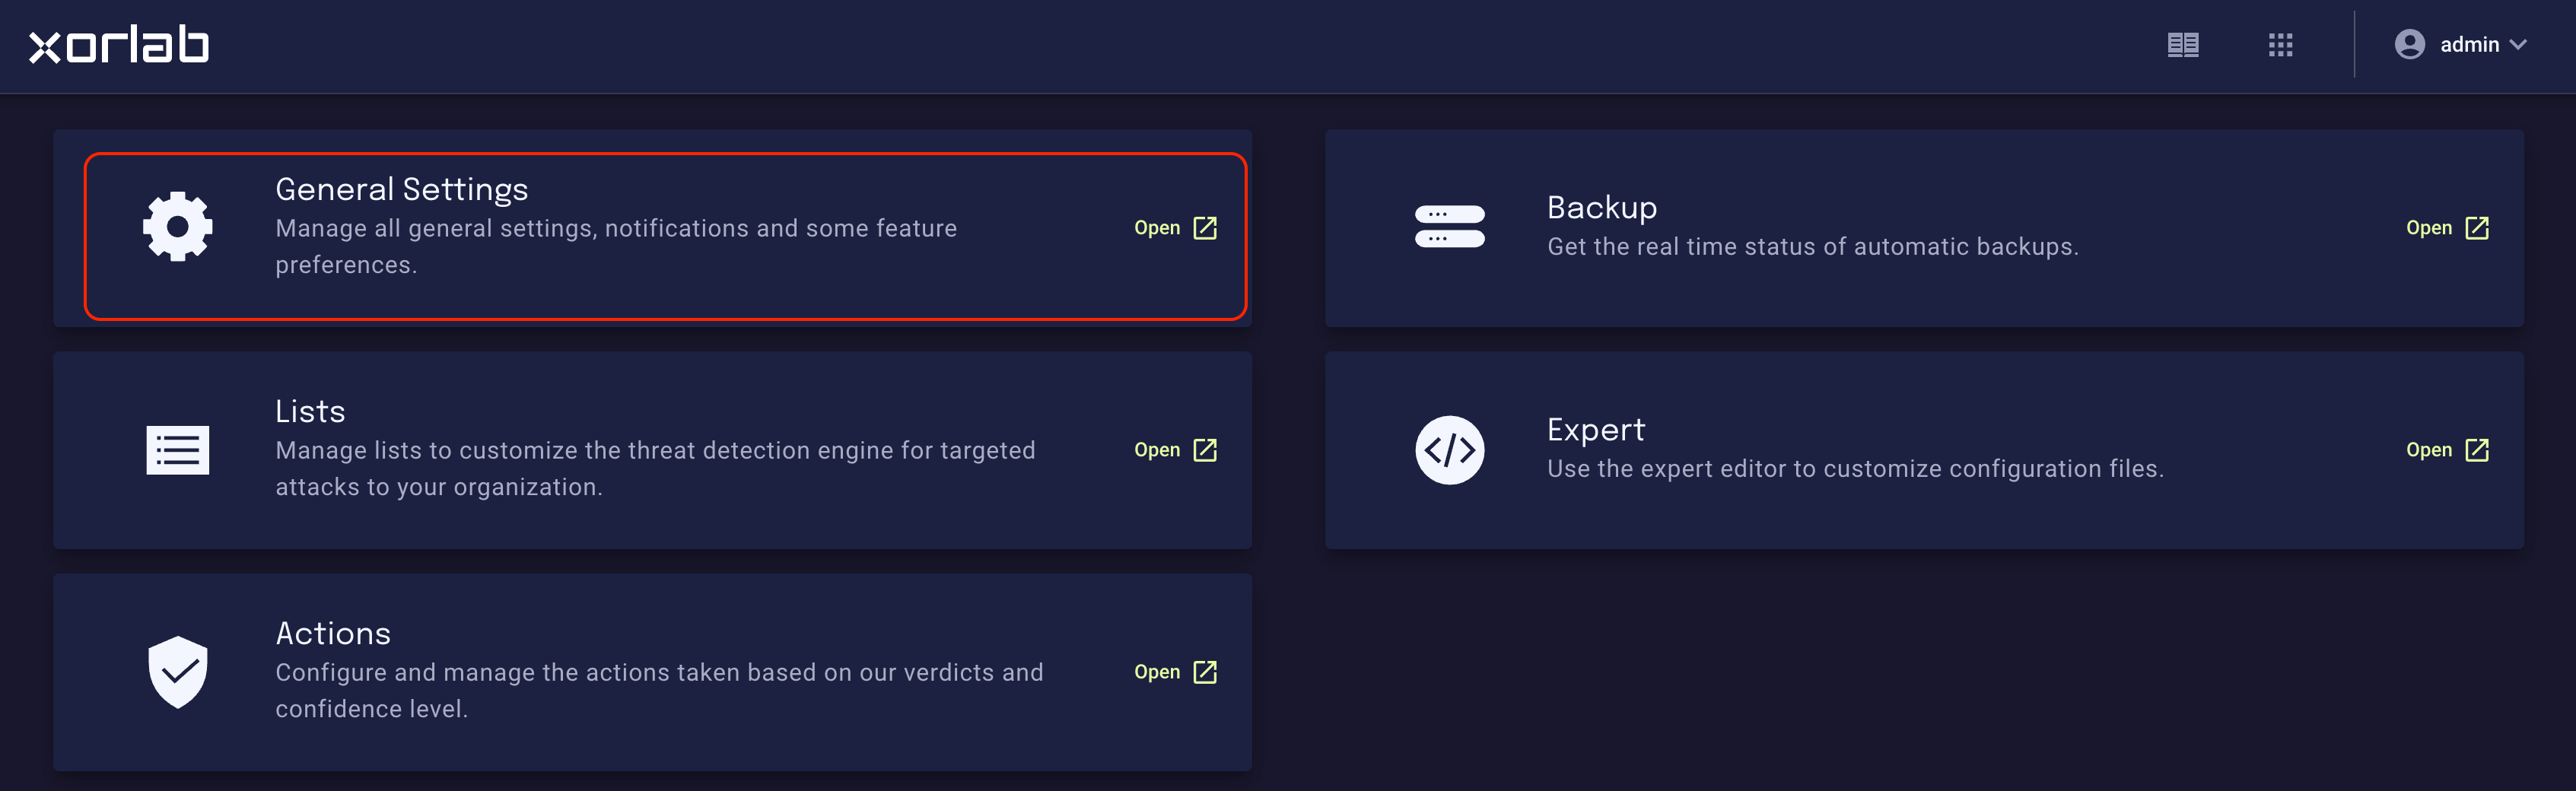
- Click the Admin icon in the right menu.
-
In the Admin Panel, click General Settings.
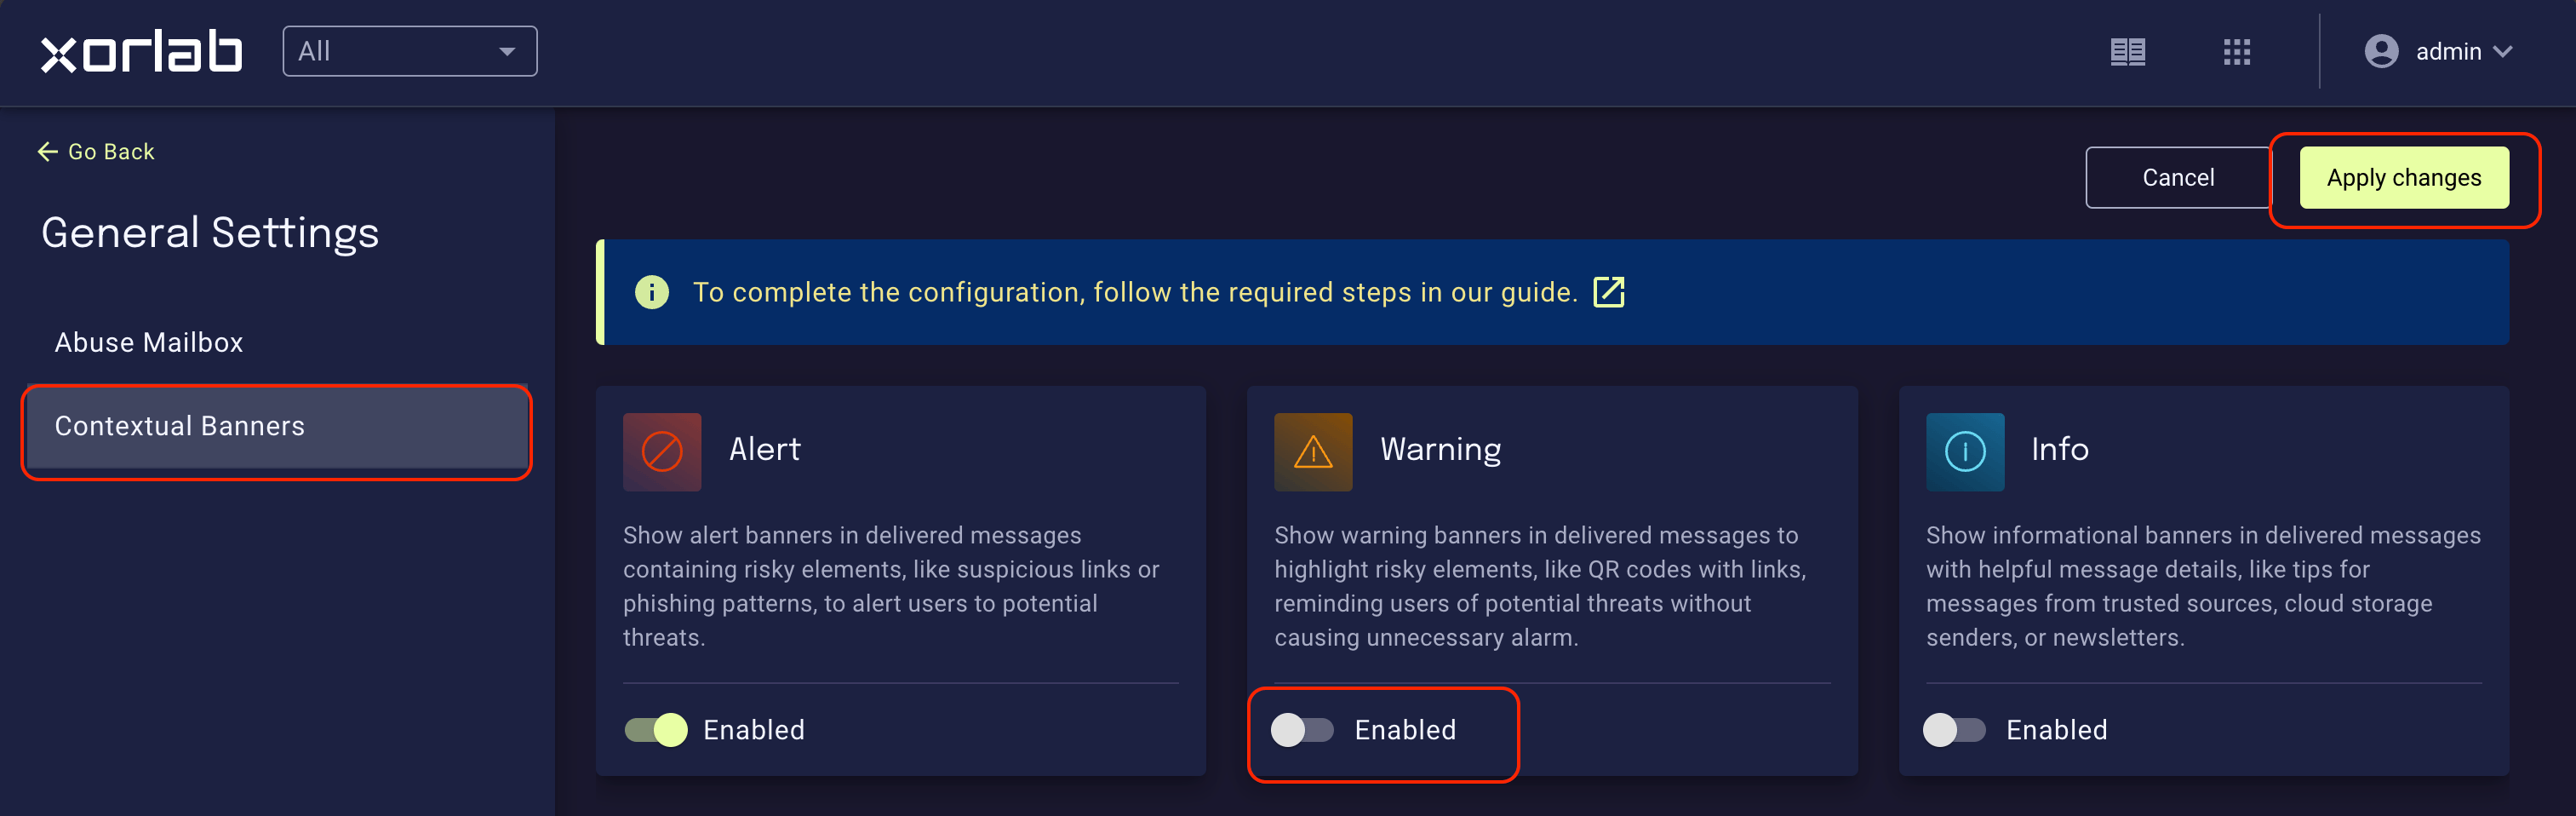
- Select Contextual Banners.
-
Enable the Alert, Warning and Info banners.
Configuration in Exchange Online
Before proceeding, ensure you are connected to Exchange Online via PowerShell. If you need guidance, refer to Microsoft’s official documentation.- Download the xorlab contextual banner EXO script package to download all scripts to manage the banner mail flow rules.
-
Run the Script xorlabExoAddBanners in the respective language in Dry-Run Mode:
- Open a Cloud Shell in M365.
- Navigate to the folder containing the PowerShell script or upload them using “Manage Files”.
- Run the following command:
You can also run the respective version for TestRecipients to only enable the rules for few selected recipients.Troubleshooting
If you lack admin privileges or are not allowed to install scripts, first run:EnterYto confirm any prompts e.g., installing the NuGet module and trusting the PSGallery repository. -
After running the script, you should see the following message:
- A Microsoft sign-in window will appear.
- Log in with your Exchange administrator credentials.
- Once connected, you should see the following output in the terminal:
-
Press Enter and review the console output. You should see messages like this:
-
Once the dry-run successfully simulates all 40+ rules, rerun the script without
-DryRunto apply the changes.
XorBanner:\
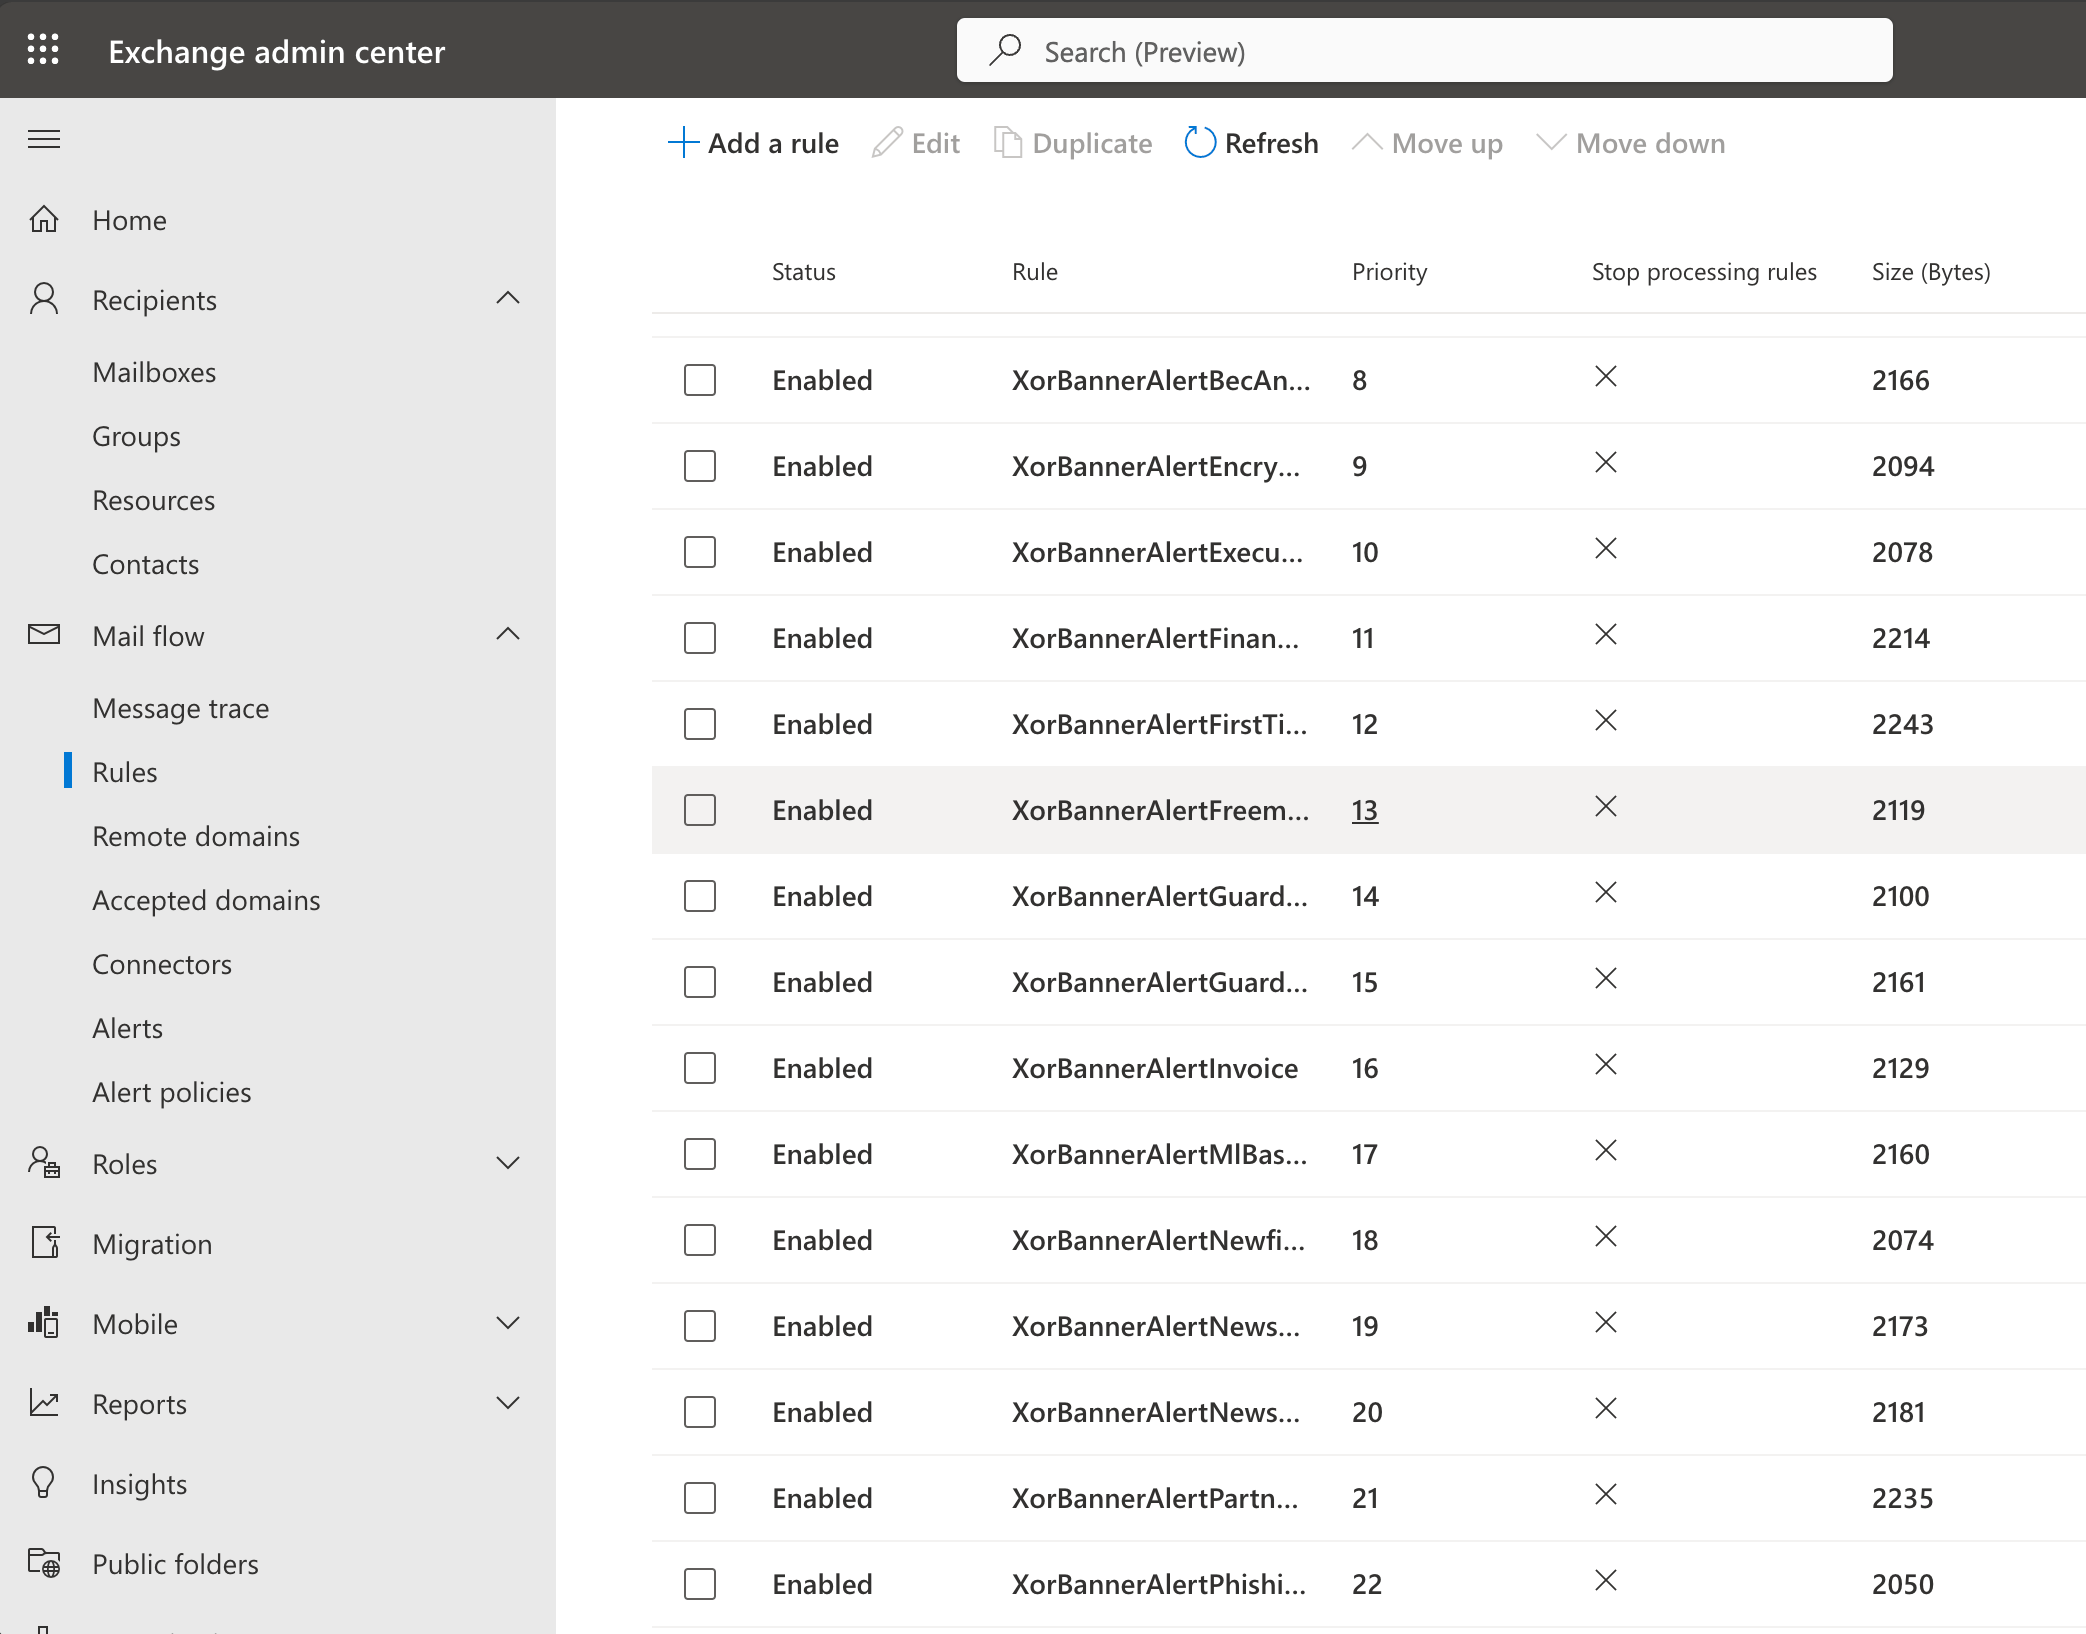
Managing Banner Rules with PowerShell
You can manage banner transport rules in Exchange Online using the following PowerShell scripts. These scripts allow you to enable, disable, reset, or remove rules as needed.Restore Banner Rules
You can restore all existing banner transport rules in Exchange Online using the xorlabExoAddBanners_DE.ps1 script and the-OverwriteRules switch:
Remove Banner Rules
You can remove all existing banner transport rules in Exchange Online using the xorlabExoRemoveBanners.ps1 script.Enabling or Disabling Banner Rules
If you need to temporarily disable banner rules for testing or troubleshooting, you can disable them with the xorlabEnableRules.ps1 script and the-DisableRules switch:
-EnableRules switch:
Allowing xorlab Banners in Microsoft Defender
If you are using Microsoft Defender, we recommend reviewing your Safe Links configuration to ensure that contextual banners render correctly. In some cases, Safe Links policies may rewrite or block banner content. To prevent this, addxorlab.com to the list of trusted URLs in your Safe Links policies (Policies & rules > Threat policies > Safe Links). This ensures that banners are displayed as intended and users receive the full security context
Configuration in On-Premise Exchange
Setup
- Download the xorlab contextual banner On-Prem script package to download all scripts to manage the banner mail flow rules and place them on your Exchange Server.
- Open “Exchange Management Shell” as administrator and go to the Download directory.
Installing Banners
- Run the script with the -DryRun command. (replace the email address below for that of the recipient)
- Rerun the script without the -DryRun command.
- Check in the Exchange Admin Center if mailflow rules were successfully added.
Removing Banners
Execute the script:Excluding Specific Senders or Recipients
To prevent banners from appearing on specific emails, use the Contextual Banners Exclusion Lists in XSP:- Contextual banners recipient address exclusion: Prevents banners from appearing on emails sent to specific internal addresses.
- Contextual banners sender address exclusion: Prevents banners from appearing on emails from specific external senders.
- Go to the admin panel in XSP.
- Click on the Lists tile.
- Search for “banners”.
- Add the email address.
Disabling Individual Banners
You can disable one or more banners using either of the following methods:- In Exchange: Disable the mail flow rule associated with the unwanted banner. You can find the rule using the banner identifier listed in the banners list.
- In XSP: Go to General Settings > Contextual Banners and disable all banners of a specific severity (e.g., Alert, Warning, or Info).
Banner Categories and Identifiers
Each banner has a unique identifier, which starts with the prefix BANNER_(Category)_(Name)
(e.g., BANNER_verdict_phishing). Use that identifier to find the associated mail flow rule in
Exchange when you want to disable an individual banner.
The full list of banner names, categories, severity levels and descriptions is documented in
Detection Defaults → Banner categories and identifiers.
Password required.