Accessing Expert Editor
- Log in to the XCC web interface with the URL address and credentials provided by xorlab.
- On the main screen, click the tiles icon next to your account name and click the Admin icon in the displayed menu.
-
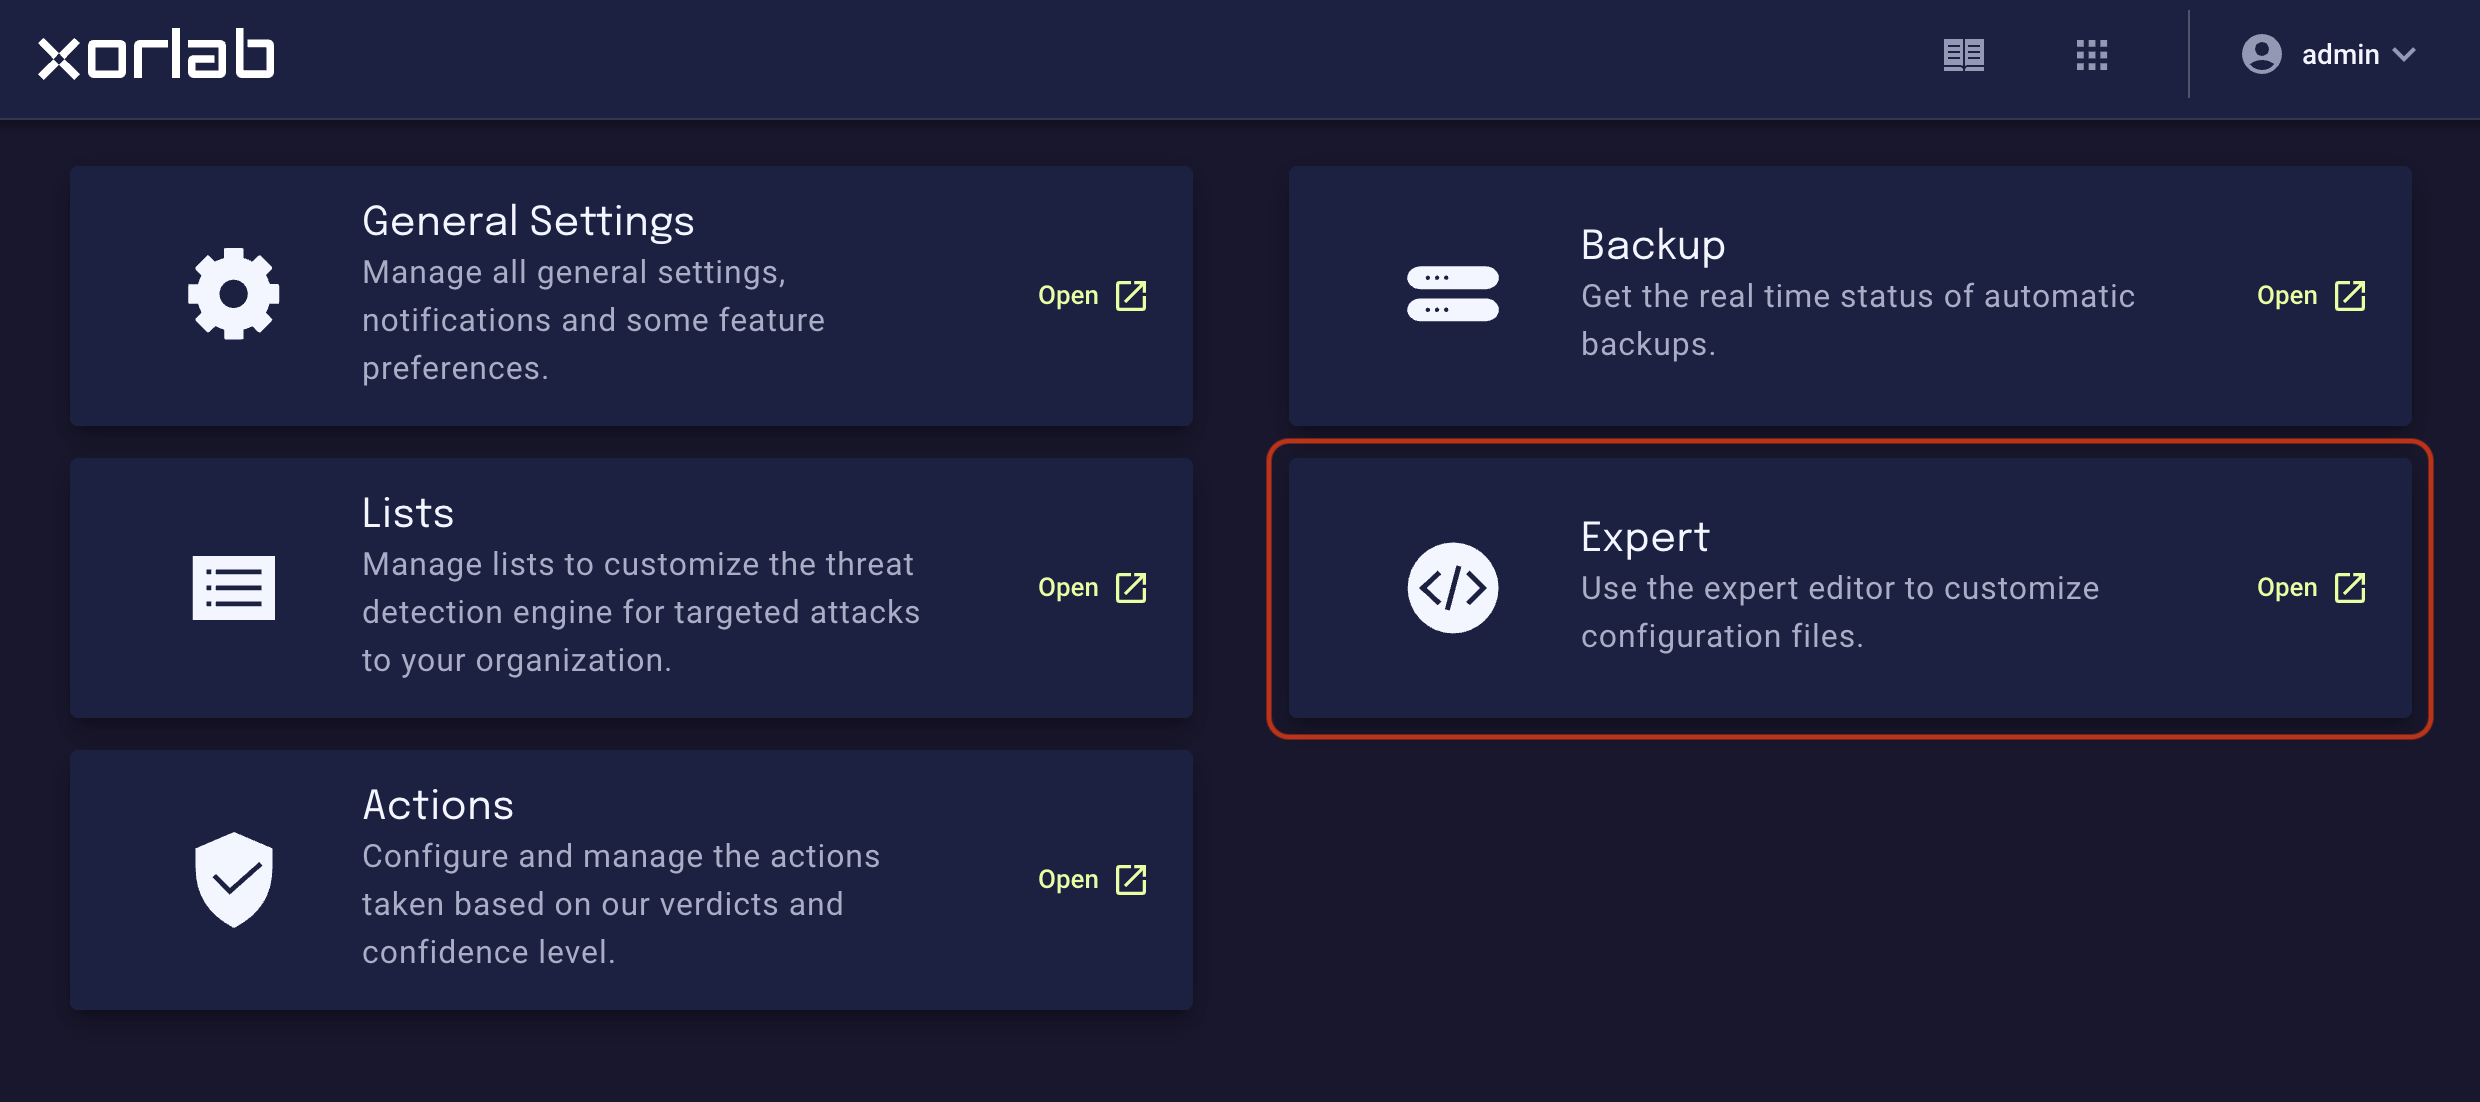
On the resulting Admin page, click the Expert tile:
Using Expert Editor
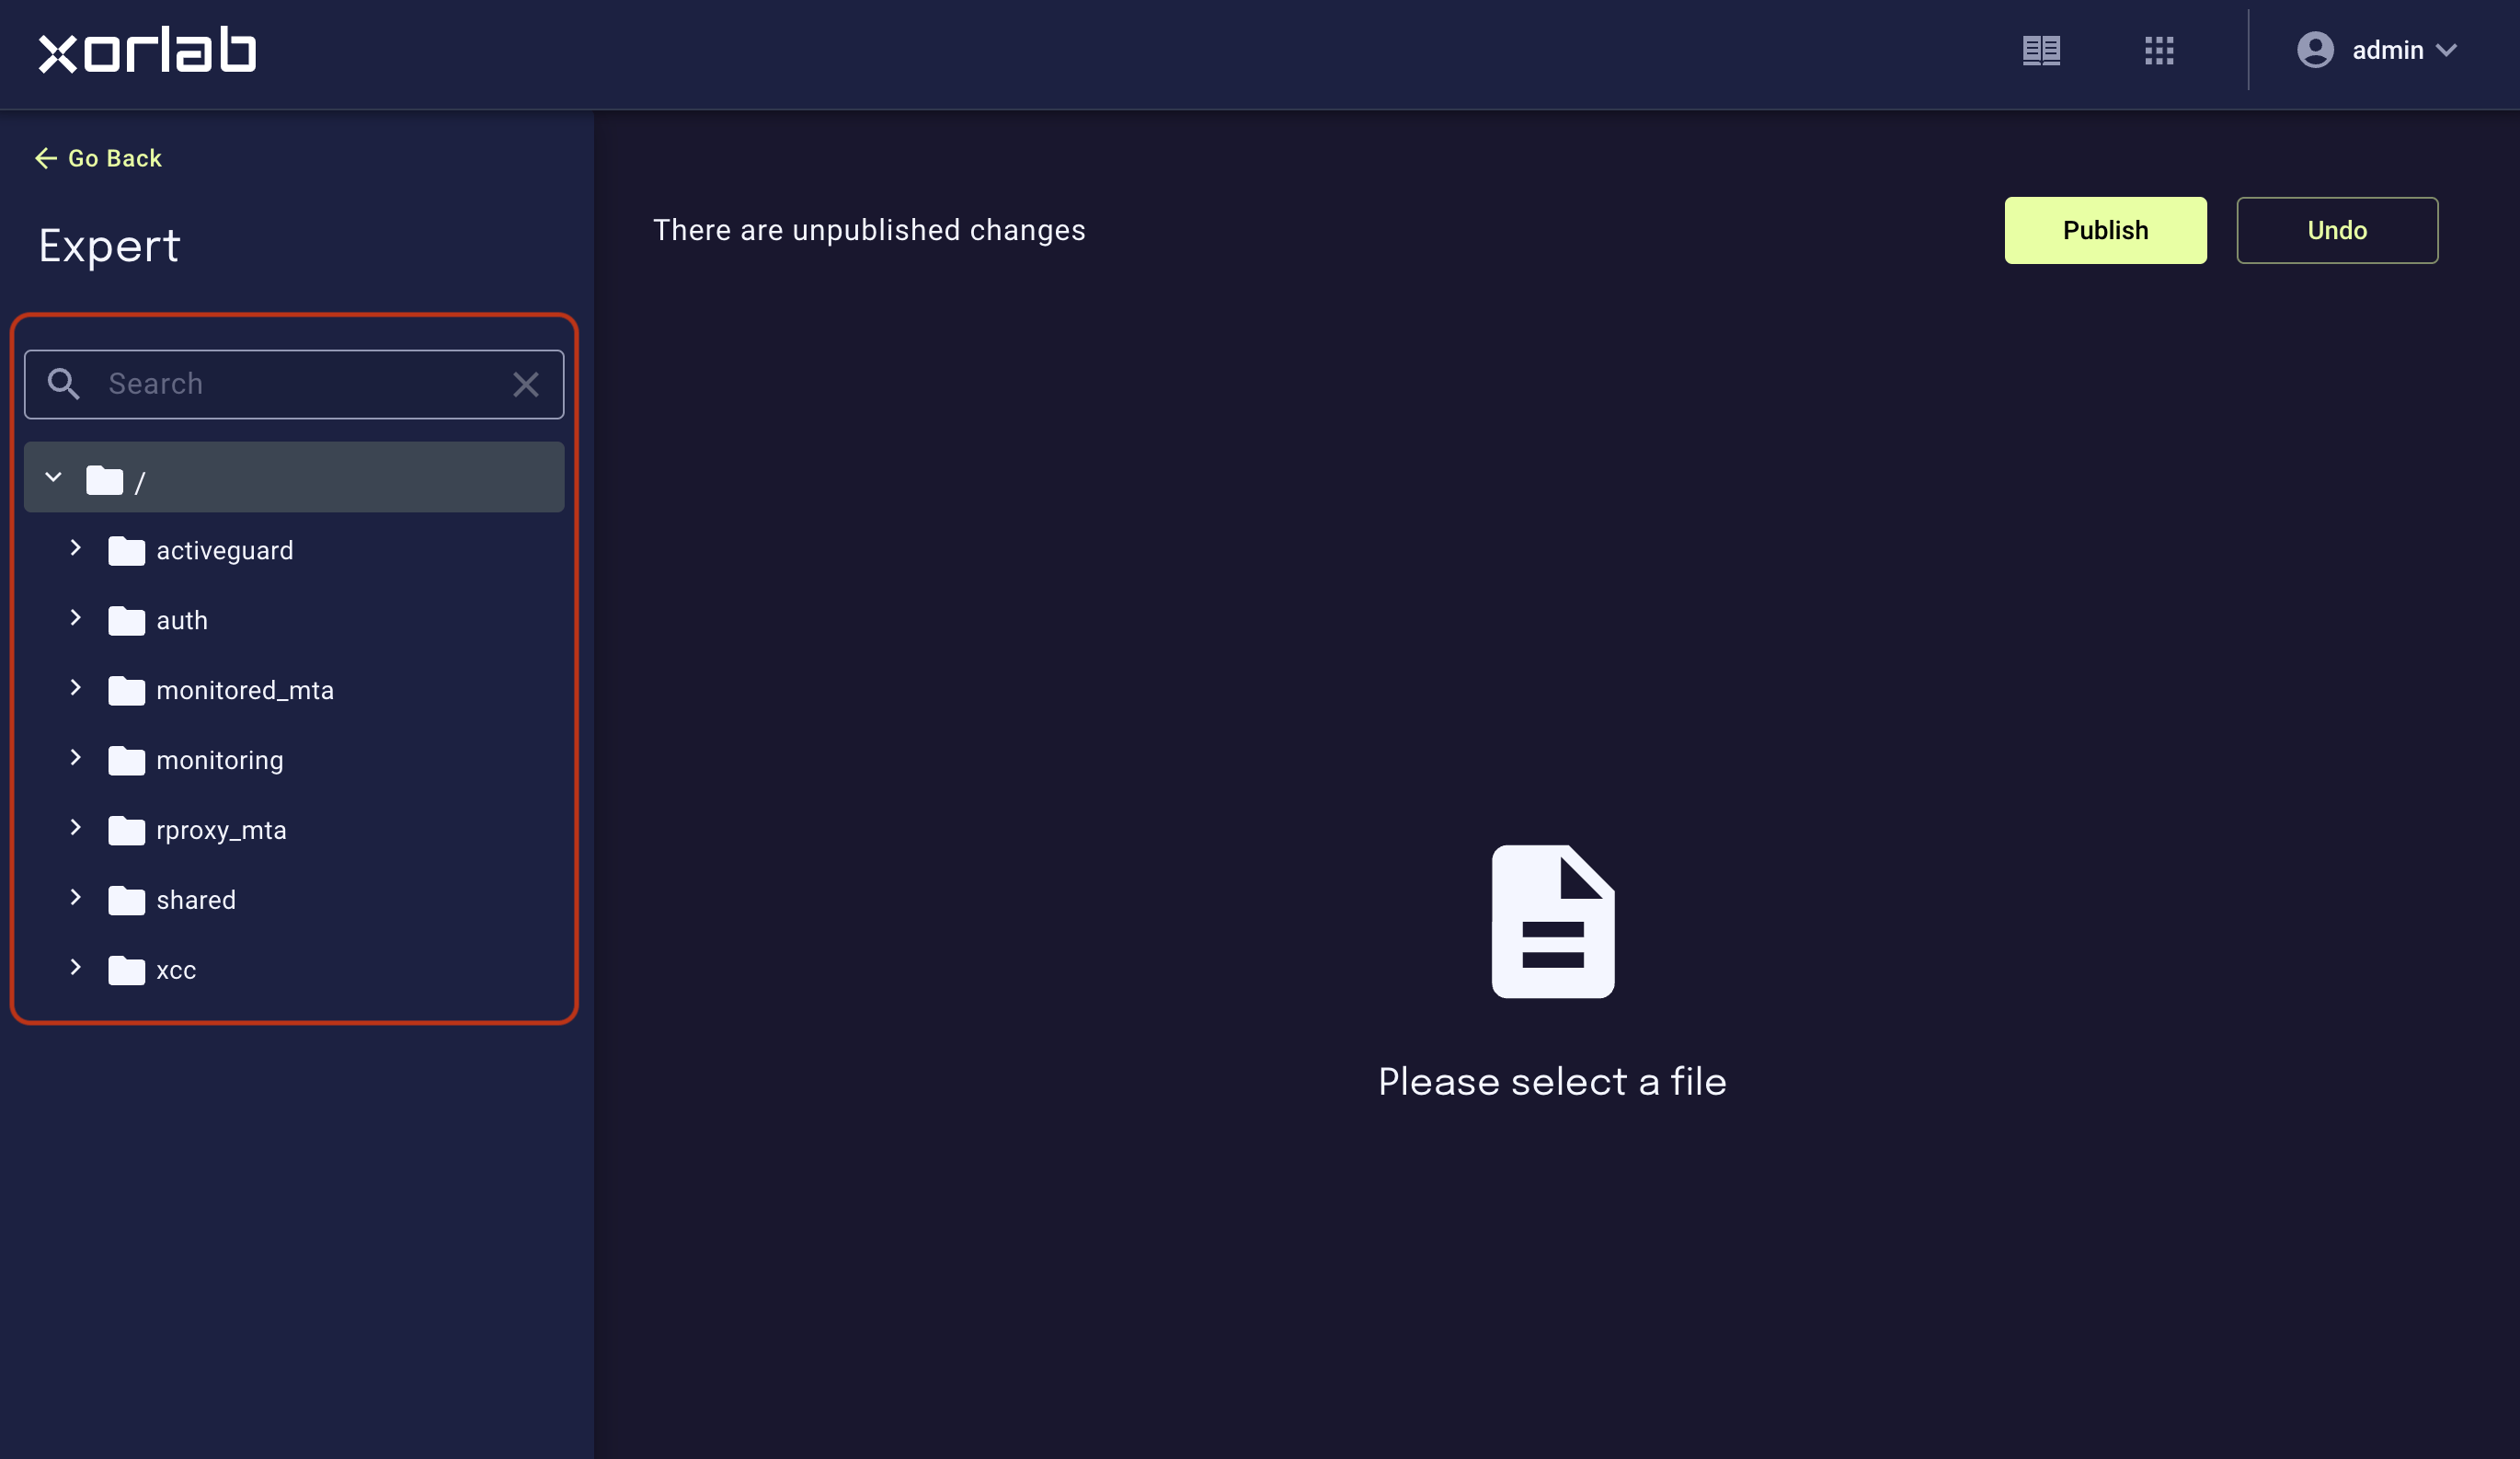
You can expand folders to navigate to the desired file or simply search for a file in the Search box. When you click the file, its content is displayed in the right pane, ready for editing. All the changes you make are automatically saved, so you don’t have to worry about it. But these saved changes will not be deployed (in other words, will not have any effect) until you click the blue Publish button, describe your changes in the Publish Changes dialog, and confirm with Publish. And until then, you can quickly discard your edits and revert to the original file by clicking the good old UNDO button. Throughout this documentation, “click Publish” refers to this action. Most files are hot-reloaded within about one minute afterward, but some require a component restart on top of publishing, see How to Activate the Configuration.Context menu: file/folder operations
Expert Editor is not limited to editing only. Basic file and folder operations are available in the context menu:-
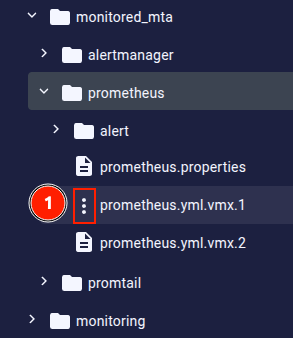
Hover the mouse cursor over a folder or file icon. The icon will change to a vertical ellipsis (
…) or a hamburger: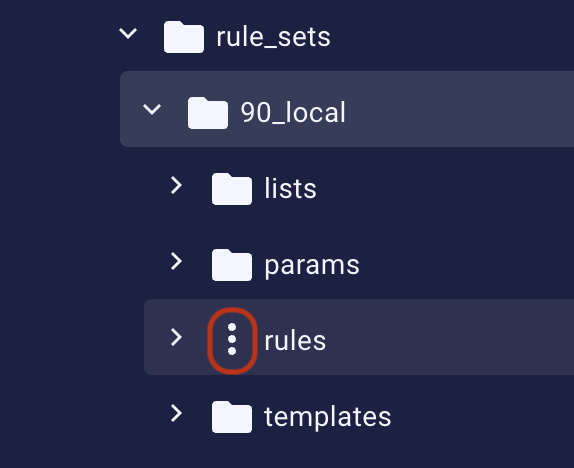
-
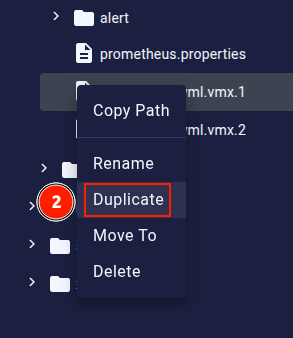
Click it to display the context menu. In the case of a folder, you can rename, delete, or move it, and add a new file/folder inside of it. In the case of a file, you can just rename, delete, or move it.
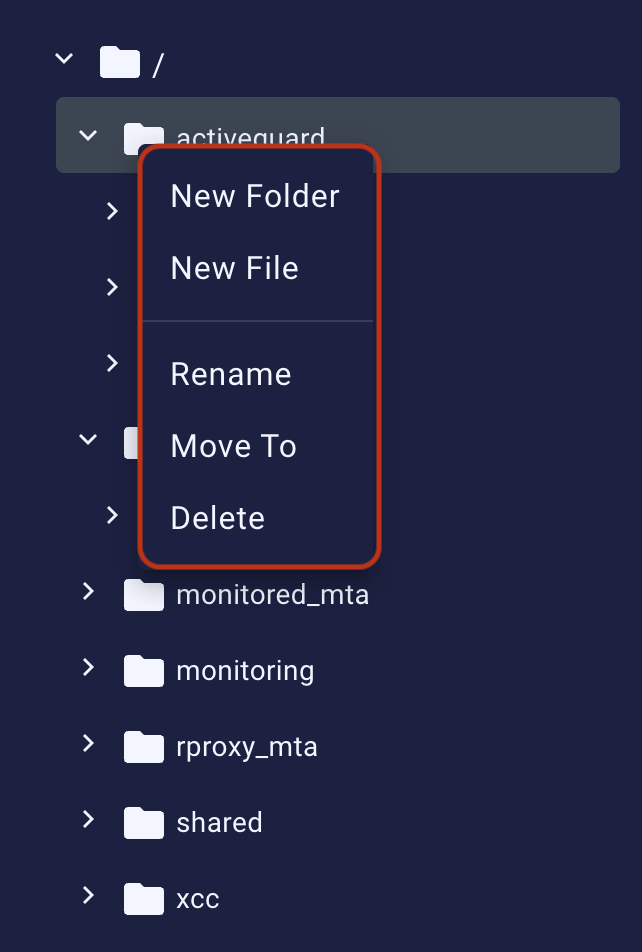
-
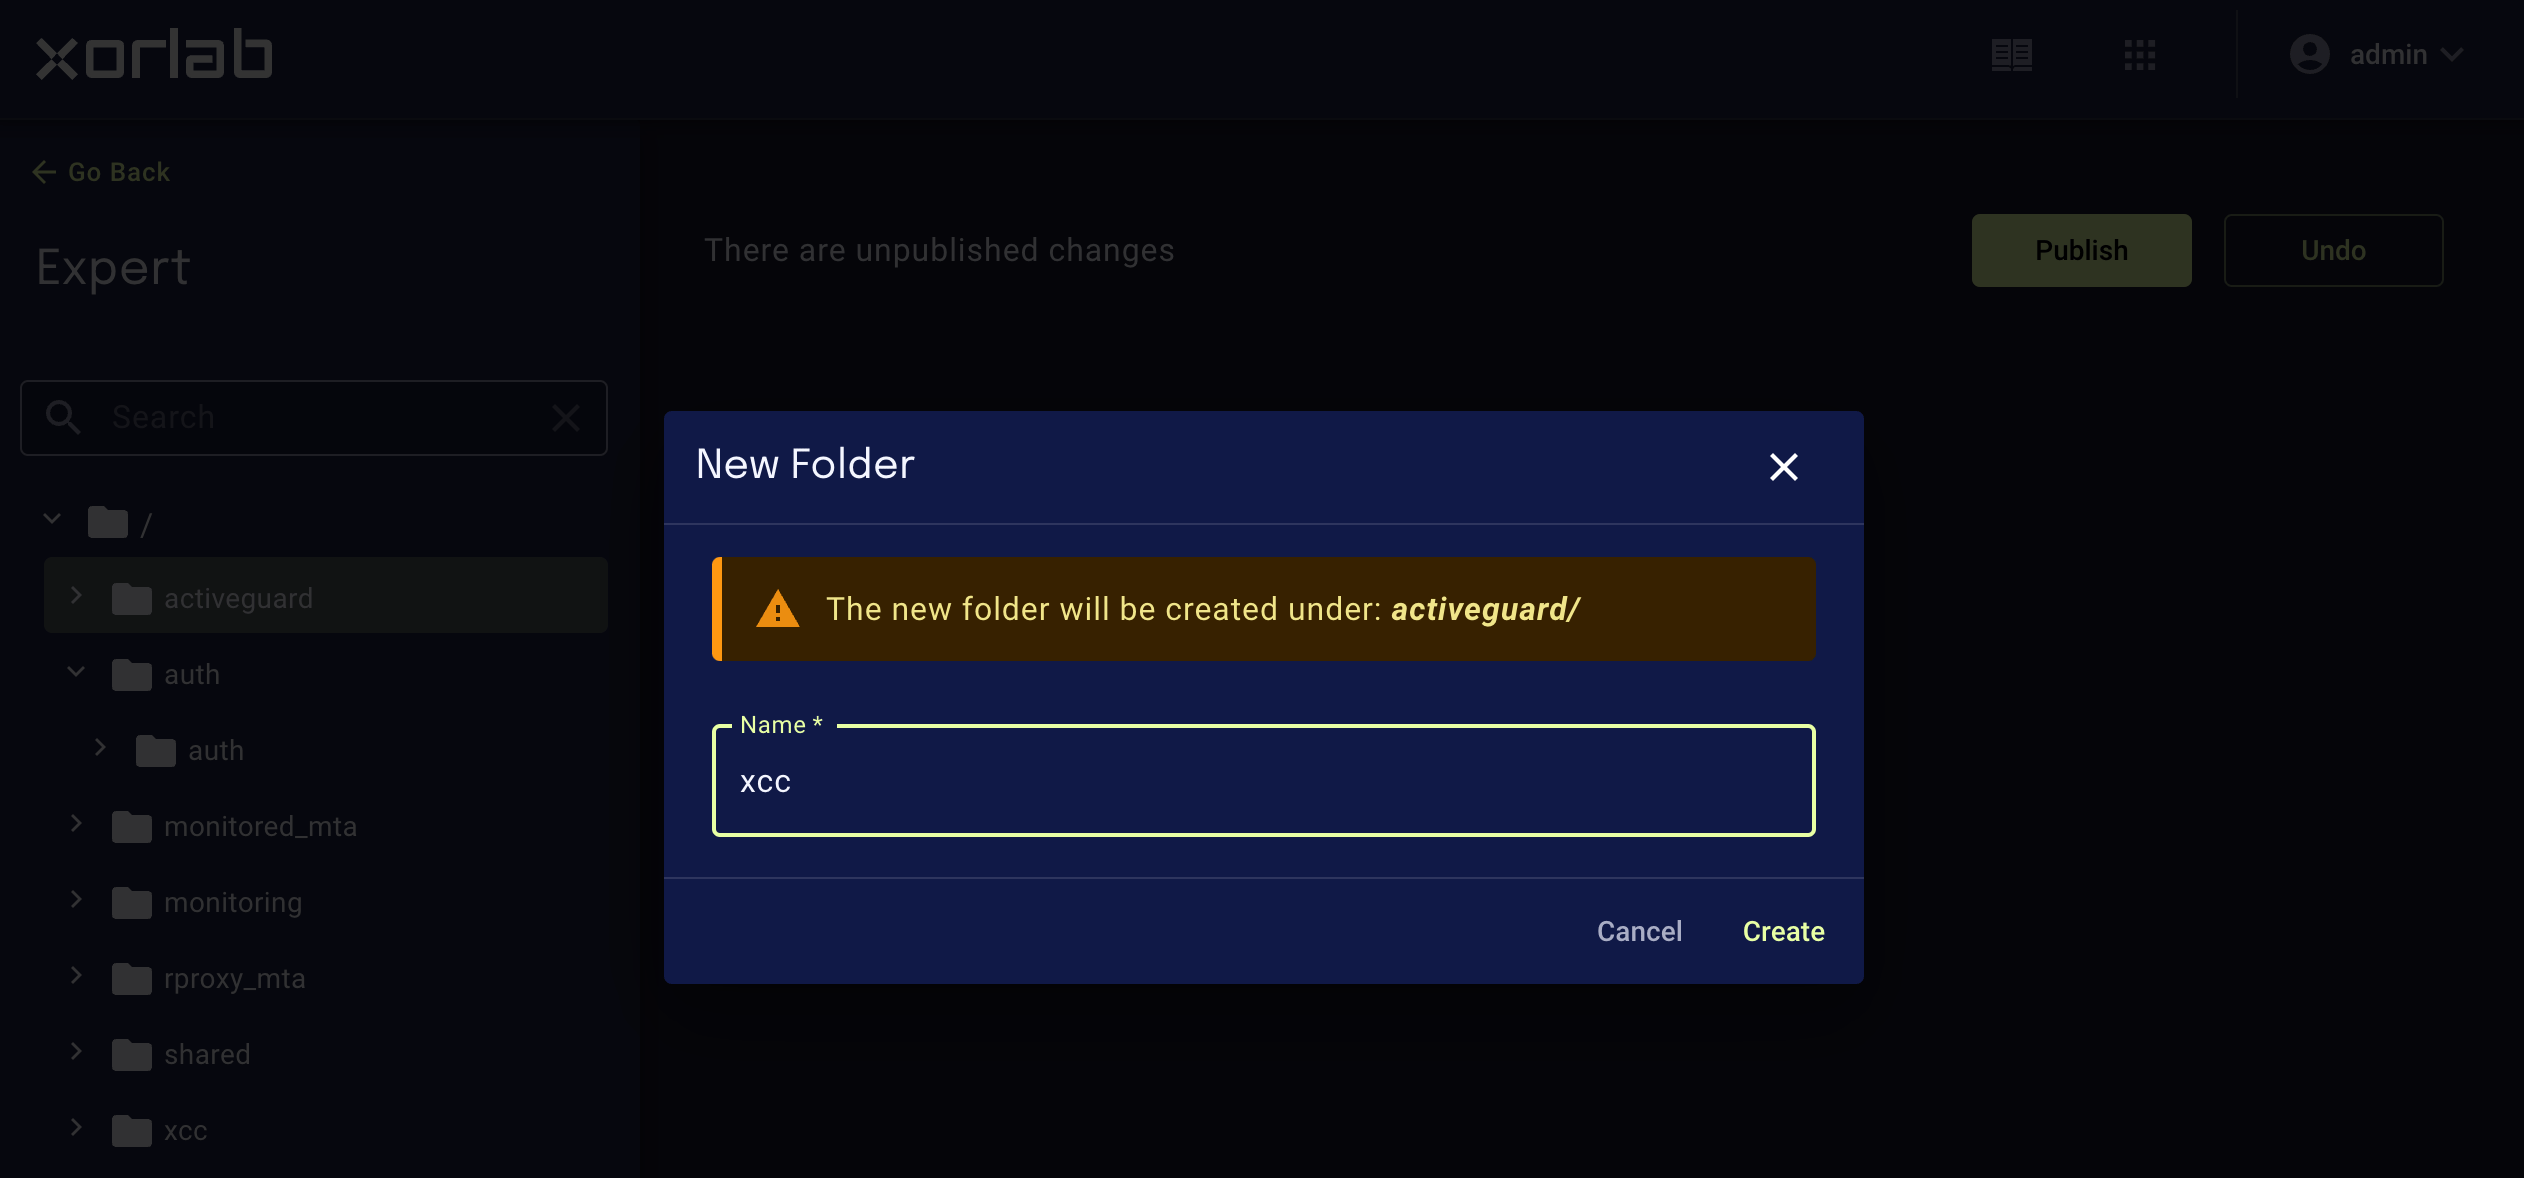
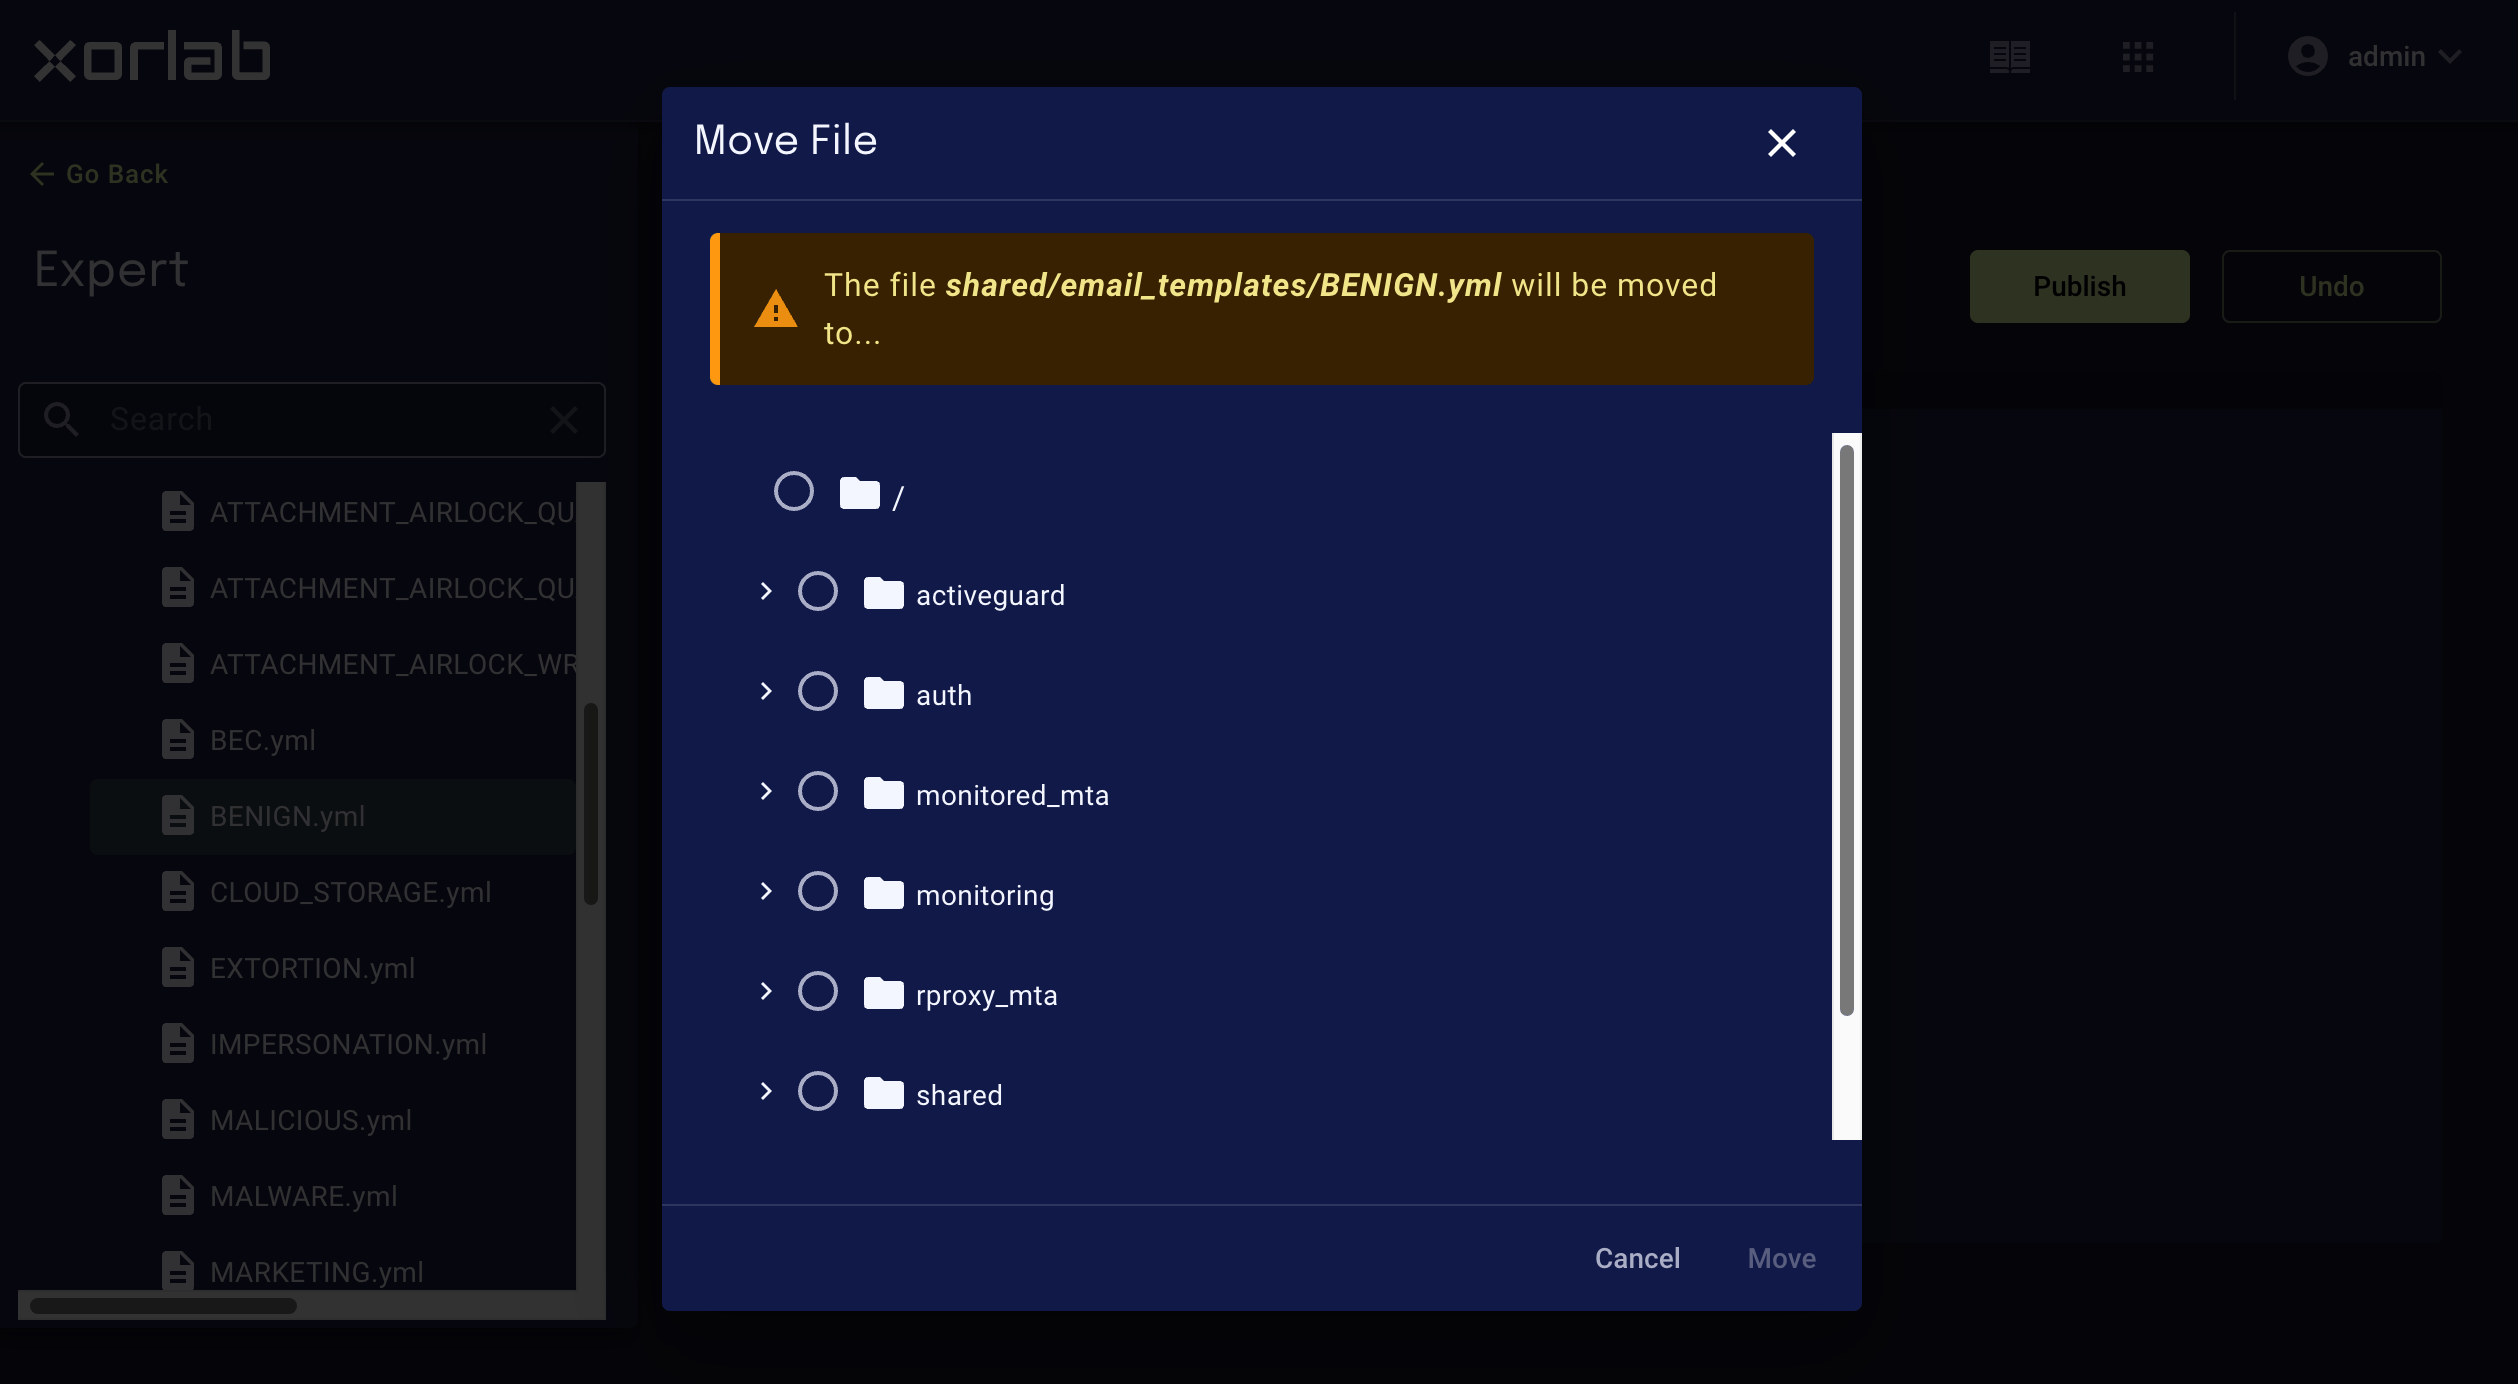
If you choose to rename or add a folder/file, a dialog box for entering a name appears. When you’re done, click Rename or Create, respectively. If you choose to move the file, you will be asked to select the target location in the resulting dialog box. Click to select the parent folder and click Move.
Commenting/uncommenting code
Expert Editor supports a common keyboard shortcut for commenting/uncommenting multiple lines of code. Just select the code to comment out or uncomment and press Ctrl+/ (Cmd+/ on macOS).This shortcut works on lines of code only. It will not work if the selected block includes actual comments.
Information on the .vmx.N notation
When you add the suffix.vmx.<client_id> to a config file, that file will only be served to the specific MTA identified via clientID. This allows to have different config files per MTA. The suffix is supported for all files inside the activeguard and monitored_mta folder.
The following example shows different prometheus configuration files per MTA used for monitoring. Both MTAs will be served the file prometheus.properties, but MTA1 will receive a file named prometheus.yml with the content of prometheus.yml.vmx.1, whereas MTA2 will receive a file named prometheus.yml with the content of prometheus.yml.vmx.2.
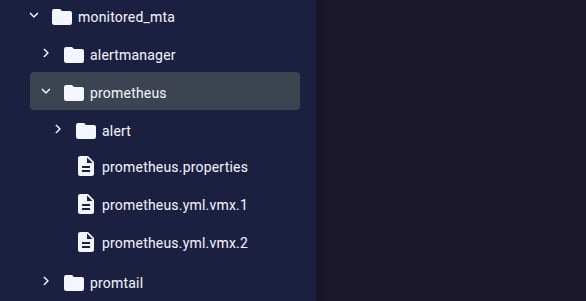
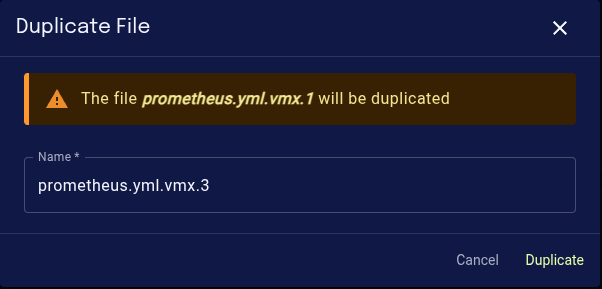
prometheus.yml.vmx.3.