

Hostname
- XCC
- MTA
Connect to the XCC VMand set the new VM hostname.Open Open the Expert Editor, you will need to set new hostname value in these files: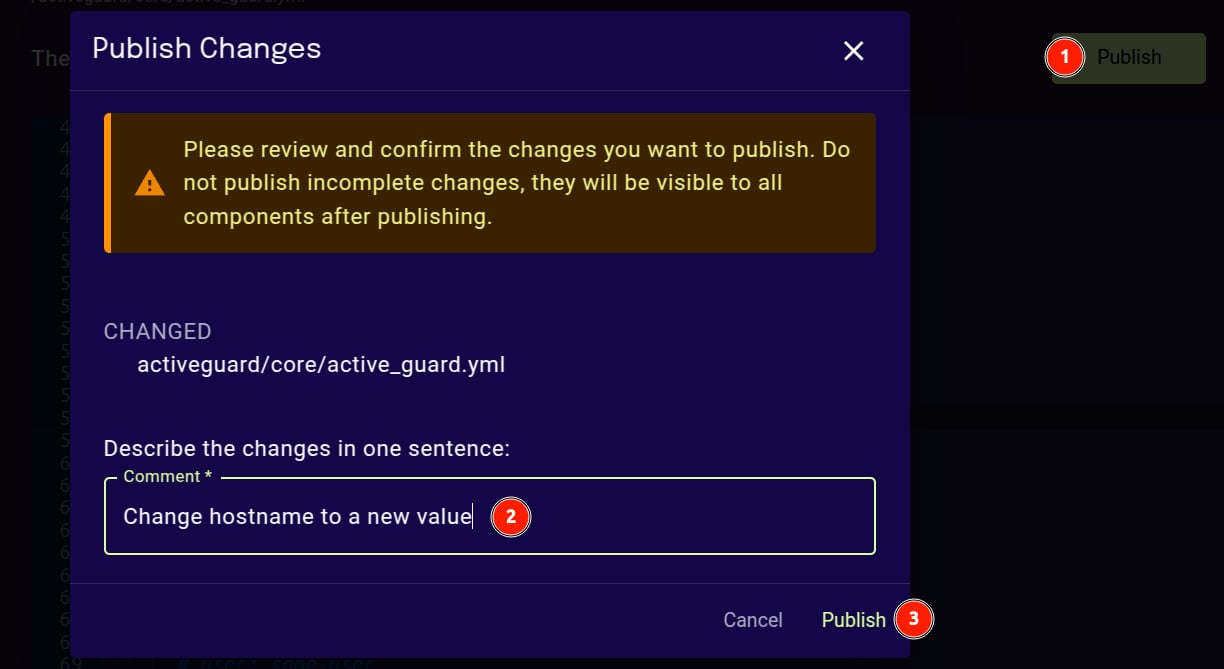
/etc/xorlab/elastic/kibana/kibana.yml config, and set the server.publicBaseUrl:-
activeguard/mta/audit/audit.yml -
monitoring/grafana/grafana.ini -
monitored_mta/promtail/config.yml.vmx.N -
activeguard/core/active_guard.yml
Bind IP
- XCC
- MTA
Connect to the XCC VM:Enable browser access to the Control Center UI by opening the and restart the
/etc/xorlab/xcc/.env file and changing the XCCWEB_BIND_IP variable to the IP that the Control Center UI should bind to:xcc stack.Client ID
Connect to the MTA VM:/etc/xorlab/<STACK>/bootstrap.env file for each stack (activeguard,rproxy_mta,monitored_mta) and change the clientId variable to the number of the MTA VM:
Repeat the steps for each MTA VM.
XCC URL
Connect to the MTA VM:/etc/xorlab/activeguard/.env file, and change the redis_url variable to the Fully Qualified Domain Name or the Hostname of the XCC VM.
/etc/xorlab/<STACK>/bootstrap.env file for each stack (activeguard,rproxy_mta,monitored_mta) and change the Fully Qualified Domain Name or the Hostname of the XCC VM in the configServiceProvider_ag_local variable:
Repeat the steps for each MTA VM.
Proxy Configuration
If the xorlab can only connect to external servers through an HTTP proxy, you’ll need to execute the following steps:- Enable APT to pull OS updates
- Enable the Docker daemon to pull new Docker images
- Configure the XCC and MTA containers
- Update
active_guard.ymlin the Expert Editor to enable SystemTests - If integrated, configure the VirusTotal service
Optional and mandatory proxy settingsUser (
PROXY_USER) and password (PROXY_PASS) are optional, whereas type (PROXY_TYPE), port (PROXY_PORT), and host (PROXY_HOST) are mandatory across all the config files.APT proxy
Connect to the XCC or MTA VM:/etc/apt/apt.conf.d/proxy.conf file:
Repeat the steps for each MTA VM.
Docker Daemon proxy
The proxy for the Docker daemon is set using environment variables usingsystemd. XCC and MTA VMs come with prepared, commented out proxy configuration in the /etc/systemd/system/docker.service.d/http-proxy.conf.
Connect to the XCC or MTA VM:
docker compose down to shut down all running container stacks. Then reload the service configuration and restart the Docker service:
Repeat the steps for each MTA VM.
ServiceProvider proxy
Allow containers to download the latest global configuration through a proxy, by configuring proxy in the bootstrap files (bootstrap.yml, bootstrap.env).
Connect to the XCC VM:
bootstrap.yml file in your favorite editor for the backend stack:
ag_global entry:
bootstrap.env file in your favorite editor for the auth and monitoring stacks:
configServiceURL_ag_global (line 12), uncomment configServiceProvider_ag_global (line 11) and add the value in the JSON format to use the corresponding proxy and xCloud:
bootstrap.env file in your favorite editor for the activeguard, monitored_mta, and rproxy_mta stacks:
configServiceURL_ag_global (line 12), uncomment configServiceProvider_ag_global (line 11) and add the value in the JSON format to use the corresponding proxy and xCloud:
Repeat the steps for each MTA VM.
xorlab Services and SystemTests
To enable connection to the xorlab backend services (DANA, xCloud, NLU), open the Expert Editor and navigate to/activeguard/core/active_guard.yml. Here you can uncomment and set proxy values for each backend service.
ReachXorlabSystemTest and URLRedirectFollowerSystemTest. In order to configure them, you need to insert the httpProxy block into /activeguard/core/active_guard.yml.
activeguard stack.