

-
Open Expert Editor and go to the folder
activeguard/core/rule_sets/90_local/. -
Create a new file within
rulesvia the three dots context menu. Name it<rule_name>.xml(e.g.CUSTOM_spam_keyword_match.xml).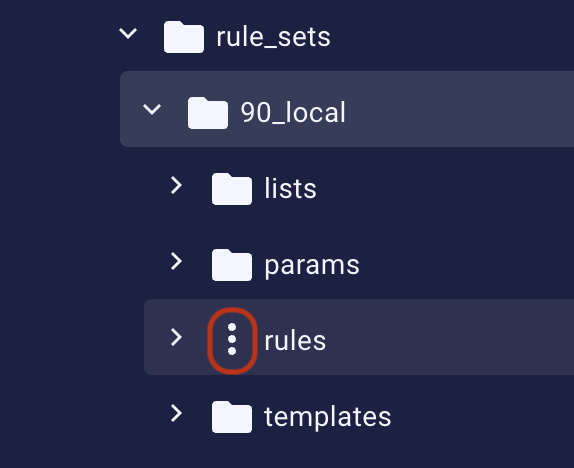
- Open the file you just created and paste the content of the custom rule.
-
Inside
paramsfolder, openlocal.properties. -
Add the parameter to activate the rule. Usually the format is
<rule_name>_state=ACTIVE(e.g.CUSTOM_spam_keyword_match_state=ACTIVE). - Click Publish. The rule-set changes become active within about one minute.
Adding a custom list
In case your custom rule references a new custom list, you will also need to add this new custom list.-
Open Expert Editor and go to the folder
activeguard/core/rule_sets/90_local/. -
Create a new file within
listsfolder via the three dots context menu. If there is nolistsfolder inside90_local, create one manually. -
Enter
<list_name>.list.info.jsonas file name. For example,CUSTOM_spam_domains.list.info.json. -
Open the file you just created and add:
where
-
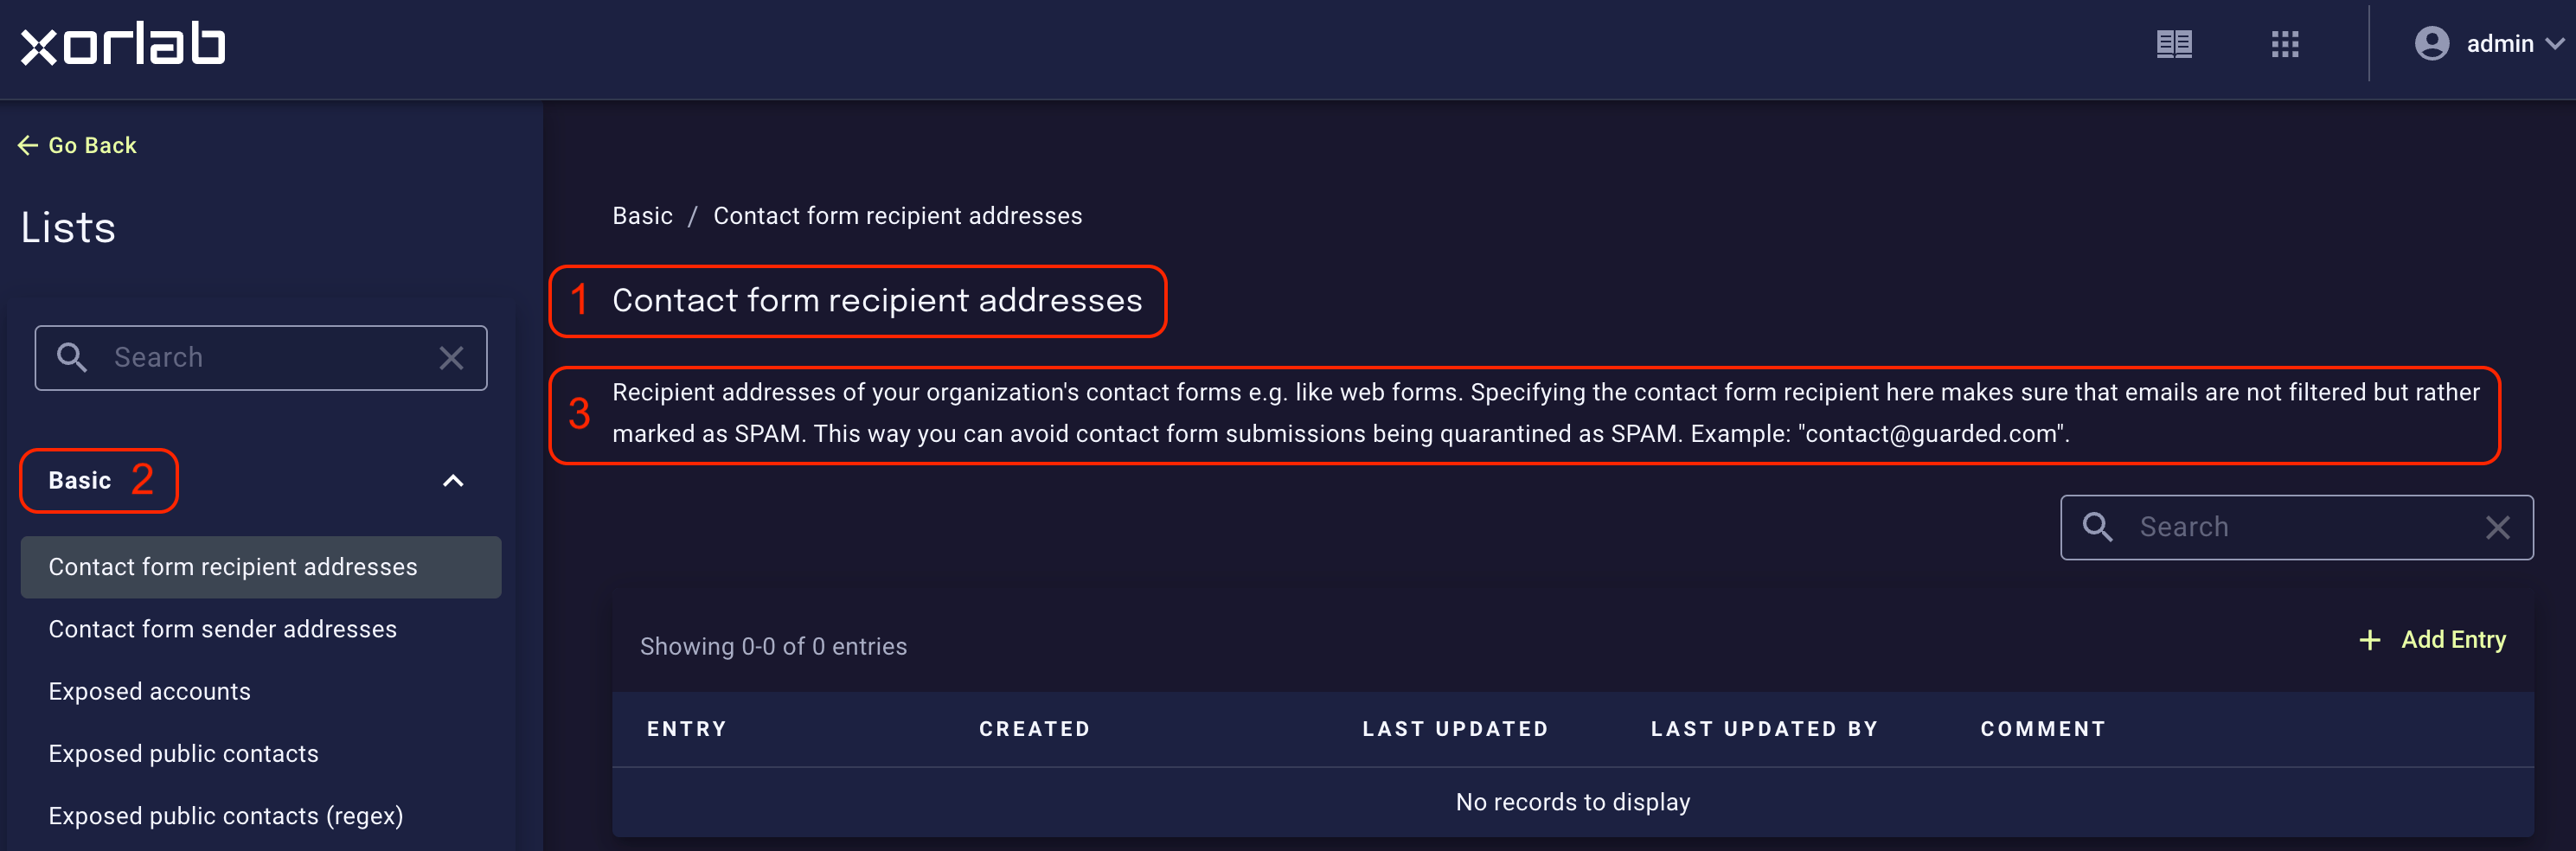
displayNameis the title/name of the list (no.1 on the screenshot below) -
categoryis the name of the category the list belongs to (existing or a new one; no.2 on the screenshot below) -
descriptionis the description of the list displayed in the right pane after selecting a list in the left pane of the Lists view (no.3 on the screenshot below).
-
- Click Publish. The custom list becomes active within about one minute.
Adding a YARA rule
You can block emails using a YARA rule by adding it to a custom rule. This YARA-based rule consists of 3 main elements:- Condition to specify when the YARA rule is applied
- Actual YARA rule.
- Decision that tags or quarantines the matched email.
-
Set the name to
YARA_cve_2018_0802, set thestateproperty toACTIVE, and select the email direction it should be applied to inapplyTo:The allowed values forapplyToare:ALL,INCOMING,OUTGOING,INTERNAL.Priority
Thepriorityvalues are within the range of 0-2000. We recommend setting the priority to at least above 20 to ensure the built-in tag rules still apply. Then, either set it between 300 and 400 to ensure the rule has precedence over the built-in quarantine rules, or set it above 1000 to ensure that it does not have precedence over the built-in quarantine rules, i.e., is applied afterward. -
Write a condition that would match all Word and RTF attachments during the file scan:
-
Now, add the actual YARA rule and close the condition block:
-
Define the action. Here we just add a Tag that can be later used in a campaign:
-
The whole rule should look like this:
Multiple YARA rules
It is possible to use multiple YARA rules in one custom rule. All you have to do is to put them in the<or>…</or> block, just like you did with the fileType selector:
Multi-Tenancy
A rule placed in90_local as described above is the default for all tenants.
To add a rule that applies to a single tenant only, put the rule file in activeguard/core/rule_sets/_tenantX/rules/custom/ instead, and activate it in the params folder of that same tenant. See Manage Tenant Rules for the folder structure and for overriding parameters per tenant.