

- Use secure passwords or passphrases. Make them unique, random, and long; preferably create them in a password generator of your favorite password manager.
- Don’t share accounts.
- Enable 2FA.
Quickstart
-
In the Expert Editor, open
auth.ymlinauth/auth/. Make sure the following configuration is present. Normally it is pre-configured. RenameexamplePasswordto a more meaningful name.auth.yml -
Open
passwordFile.ymlin the same folder and add the local users. Below you find the available attributes that you can configure. We recommend to always require 2FA viatotpRequired.
passwordFile.yml
- Click Publish. The users become available within about one minute.
users attributes are available:
2FA/MFA onboarding
Password file users can be forced to set up TOTP during their next login by addingtotpRequired: true to the user entry in passwordFile.yml.
passwordFile.yml
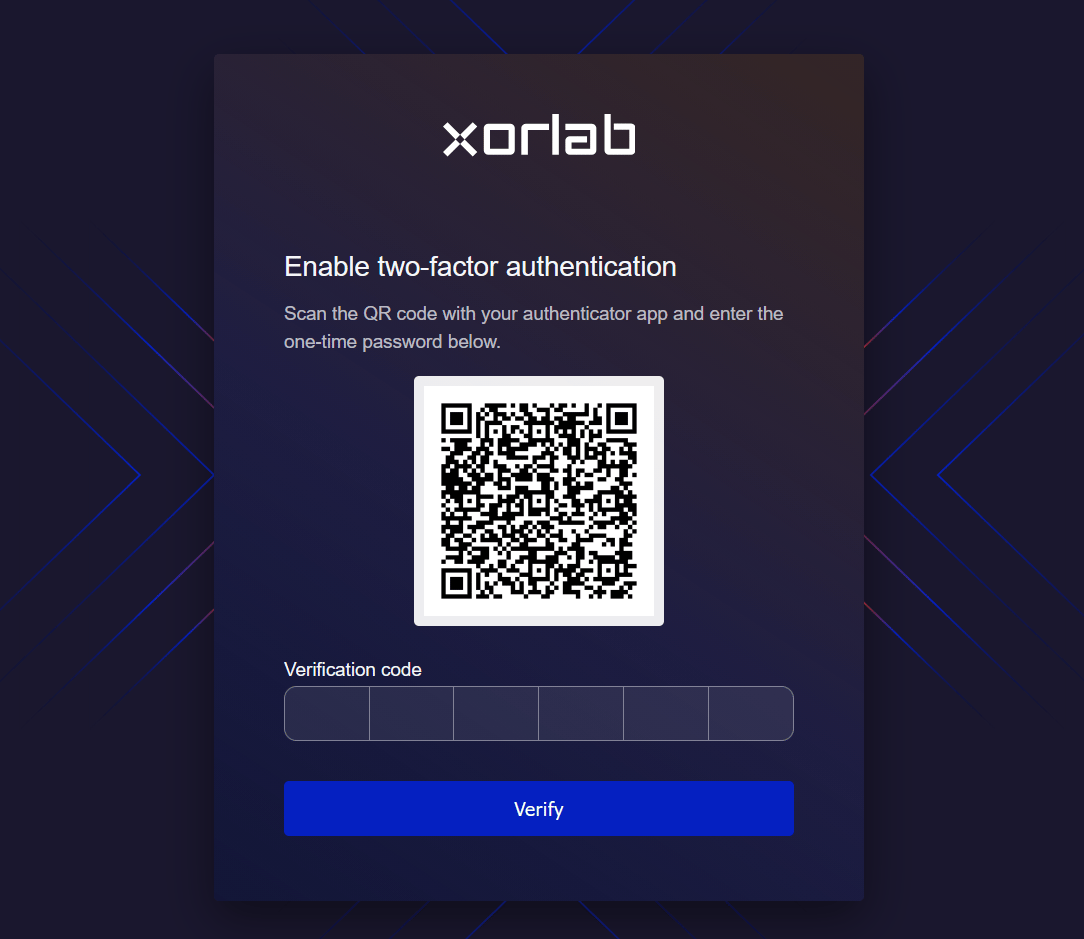
totpSeedBase32is stored on the user objecttotpRequiredis removed again (in this way, a new TOTP onboarding can be triggered by setting it to true again)
`totpSeedBase32`
`totpSeedBase32`
By default, xorlab generates the seed automatically and updates the
passwordFile.yml. However, if necessary, you can manually set the seed yourself. One can be created with openssl rand 20 | base32.Password hash generator
- Run the
docker exec -it auth_auth create_hashcommand on the XCC terminal to generate a password hash from the password you enter and re-type when prompted. You should get the output similar to the one below: - Copy the generated hash, open Expert Editor and paste it into
auth/auth/passwordFile.ymlas a value for thepasswordHashkey of a particular user. - Once you finish adding password hashes for all users, click Publish. After about one minute, the changes are hot-reloaded and active.
htpasswd -nBC 10 ignore | sed 's/ignore:/{bcrypt}/' on a Linux terminal to generate a password hash as alternative to step 1 above.
Enable Logging
With this authorization method, it’s good to know whether there were any unsuccessful login attempts. You can use the logging system for that:-
Follow the instructions for logging audit trail events to create a log for the
audit.access.deniedevent. -
Your
auth/auth/logback-audit.xmlconfig file should look like the one below:
logger name value to "audit.access".
Multi-Tenancy
The setup on this page applies unchanged in a multi-tenant deployment. Two things are added on top: atenant entry per user that matches the tenant name in guarded_tenants.yml, and a tenant-restricted user role in roles.
Enable Tenant Login
Complete per-tenant password file example, and the other login options available to tenants.