- How to search for emails
- Create your first campaign
- Using the similarity search
- Give feedback to a reported email
Search an email
The search is very powerful and one of the key tools in xorlab. The full search syntax can be found under Search.- Open the Messages menu on the left.
-
Search for all sender addresses that contain the word
notification: Open the Sender filter, switch the dropdown to contains and addnotification. If you don’t get any results, you can choose any other word.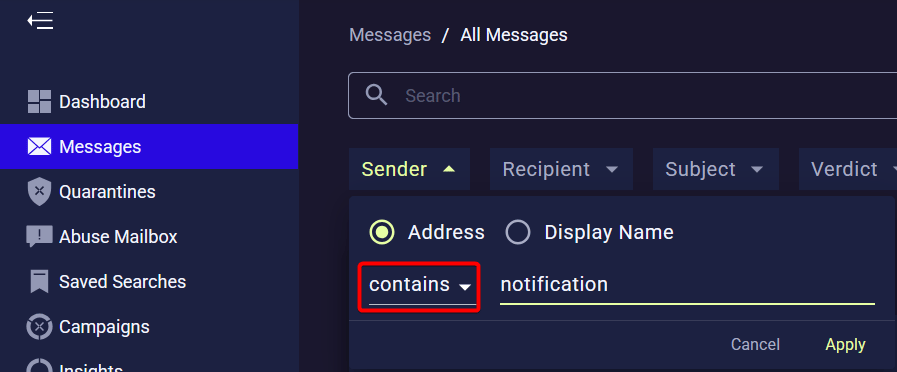
-
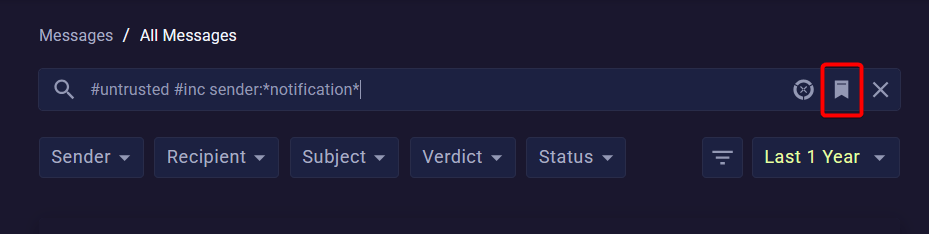
Refine the search further by adding some Tags to only match incoming emails from untrusted senders:
#untrusted #inc. You can add as many tags as you want. By default, they are ANDed.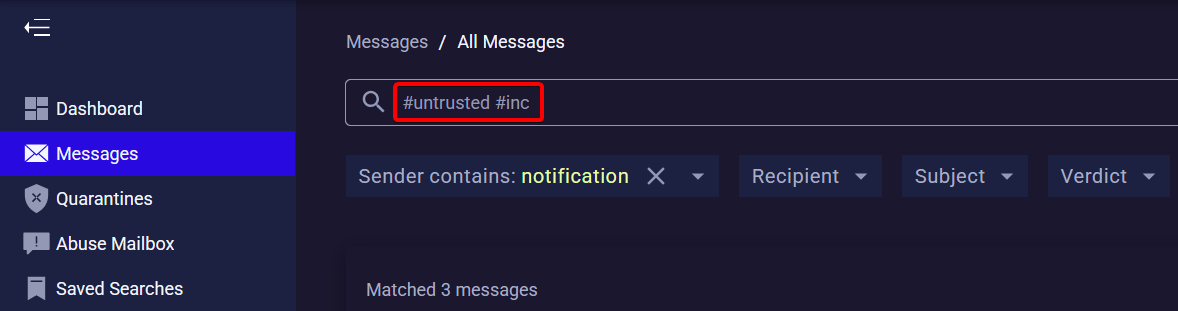
-
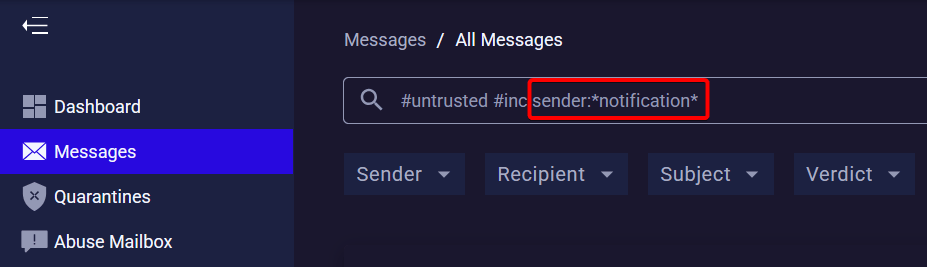
All filters can be replaced by text search. The following gives the same results as above:
-
You can further play around using for example:
(topic:invoice OR topic:accountissue) #newsender: Unknown senders that send emails about invoices or account issues#untrusted #vbascript: Emails from untrusted senders with VBA script#partner #encryptedarchive: Emails from partners that contain an encrypted archive
-
Save your search for later use with the button on the right side. You can find all your saved searches in the Saved Searches menu.
Create a campaign
Campaigns allow you to define an action for all emails that match a search query. It is an easy tool to react to missed threats or false positives. Campaigns work only forward-looking, and do not affect past emails. For an in-depth guide about Campaigns, check out Using Campaigns.-
Create a new search query that will be the basis of the campaign:
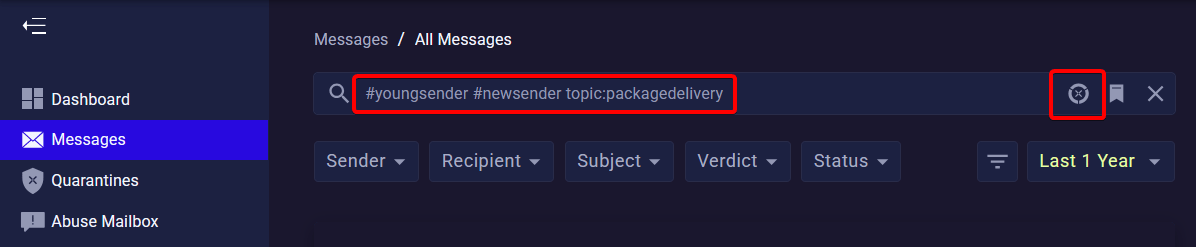
#youngsender #newsender topic:packagedelivery. This will find all emails from recently registered domains that talk about package delivery. -
Click on the campaign button on the right side in the search.
- Enter a descriptive campaign name.
-
Under Message Action, you can choose the action that should be applied to all emails that will match this search from now on. Choose None for now, in this way the campaign will be passive and not have any impact. The Resolve Action can also be left as None as it affects only Reported Emails.
 DeliverBe careful when using the Deliver action. It will overwrite all built-in detection mechanisms. It is normally only used in a very narrow scope to address false positives.
 -
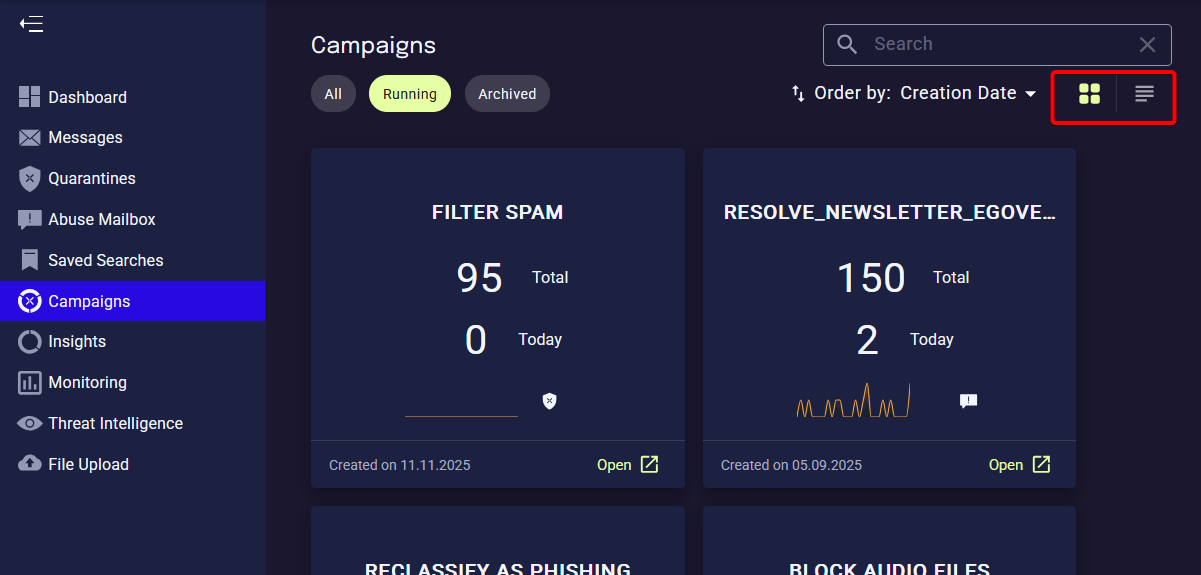
After saving, you can find your new campaign in the Campaign menu on the left. The switch in the upper right provides different views for convenience.
- If you want to activate the campaign, you can set the Message Action any time later to Quarantine.
Using the similarity search
The similarity search allows to group emails based on different parameters. For example, a phishing wave might use different sender addresses and subjects, but you can still group them based on content similarity.- In the Messages menu, click on any email in the list to open the Detail View.
-
Open the SIMILAR tab. This will show you all emails with a similar content. The first email highlighted in blue is the one that you opened in the detail view.
 Content similarityThe content similarity uses fuzzy hashing of the email body to group emails. It is robust such that one can change several words of an email and even re-arrange paragraphs and it will still group them together. The false positive rate is generally very low for emails with enough text (above 30-40 words).
 -
If your email does not have any results based on content similarity, you can use one of the other built-in groupings like Same Sender. The number in brackets shows the amount of matches.
- When choosing another grouping, you need to disable the Content similar search, otherwise they will be ANDed.
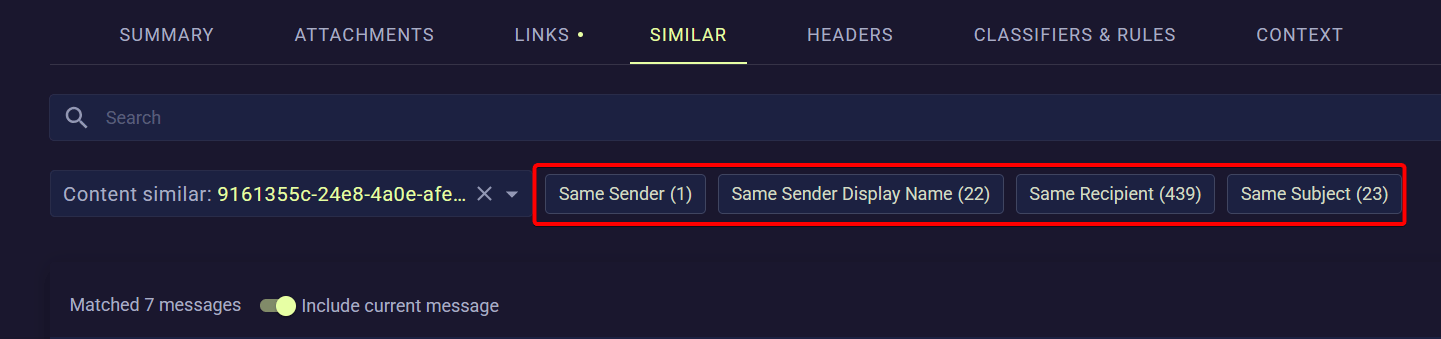
- When you found a grouping that works for you, you can create again a saved search or even a campaign with the two icons on the right side in the search bar.
-
The search bar here supports the same searches as the default one in the Messages menu. For example, you can refine the built-in groupings with normal search queries. In this example we grouped the emails based on display name and restricted it via search
verdict:phishingto only phishing emails.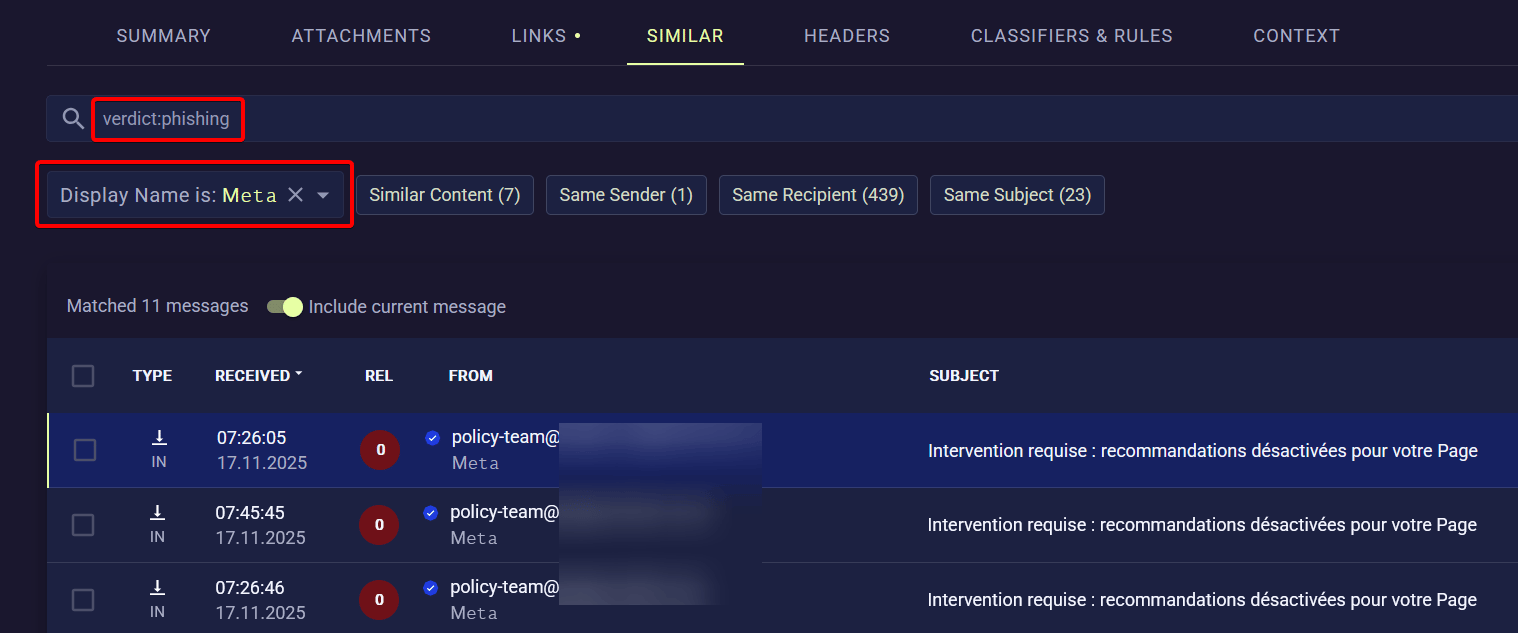
Give feedback to a reported email
Here we show how you find the user reported emails and give feedback to the reporter.-
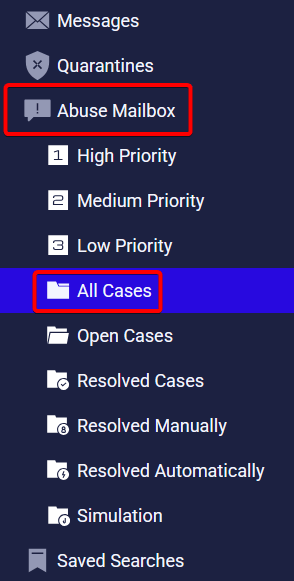
Open the Abuse Mailbox menu on the left and choose All Cases. This will show all reported emails xorlab received.
-
The search bar on top works in the same way as the ones we’ve seen in the previous chapters. Optional: You can additionally use the
reporter:keyword to search for specific internal reporters. -
Click on an email where the STATUS on the right side is
OPEN. -
You will see the same detail view as before, but additionally you have Resolve buttons in the upper right. Click on Resolve as Spam.

-
Under Feedback Template you can select what feedback the reporter should get. Keep it as Spam. Add a custom Comment, and click on Resolve.
 Attaching the reported emailWhen you select a benign verdict (shown as green in the search), xorlab will attach the reported email as EML to the feedack email. For malicious emails, this is not the case.
 -
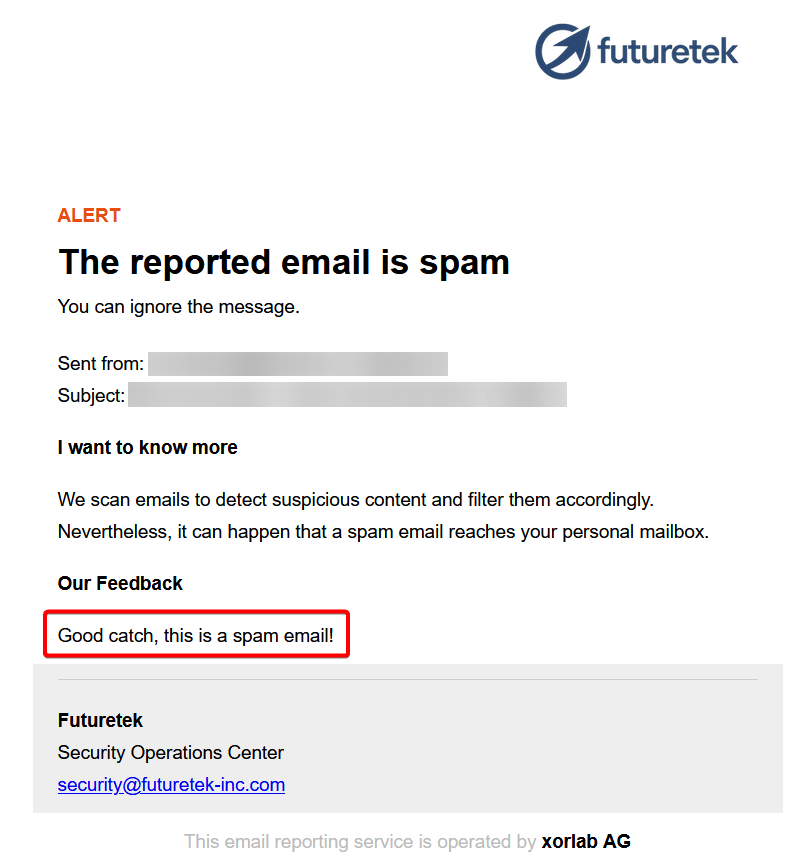
A few seconds later, the reporter will now get a feedback email like this. The comment is added in the lower half of the email: