

Configure Entra ID
-
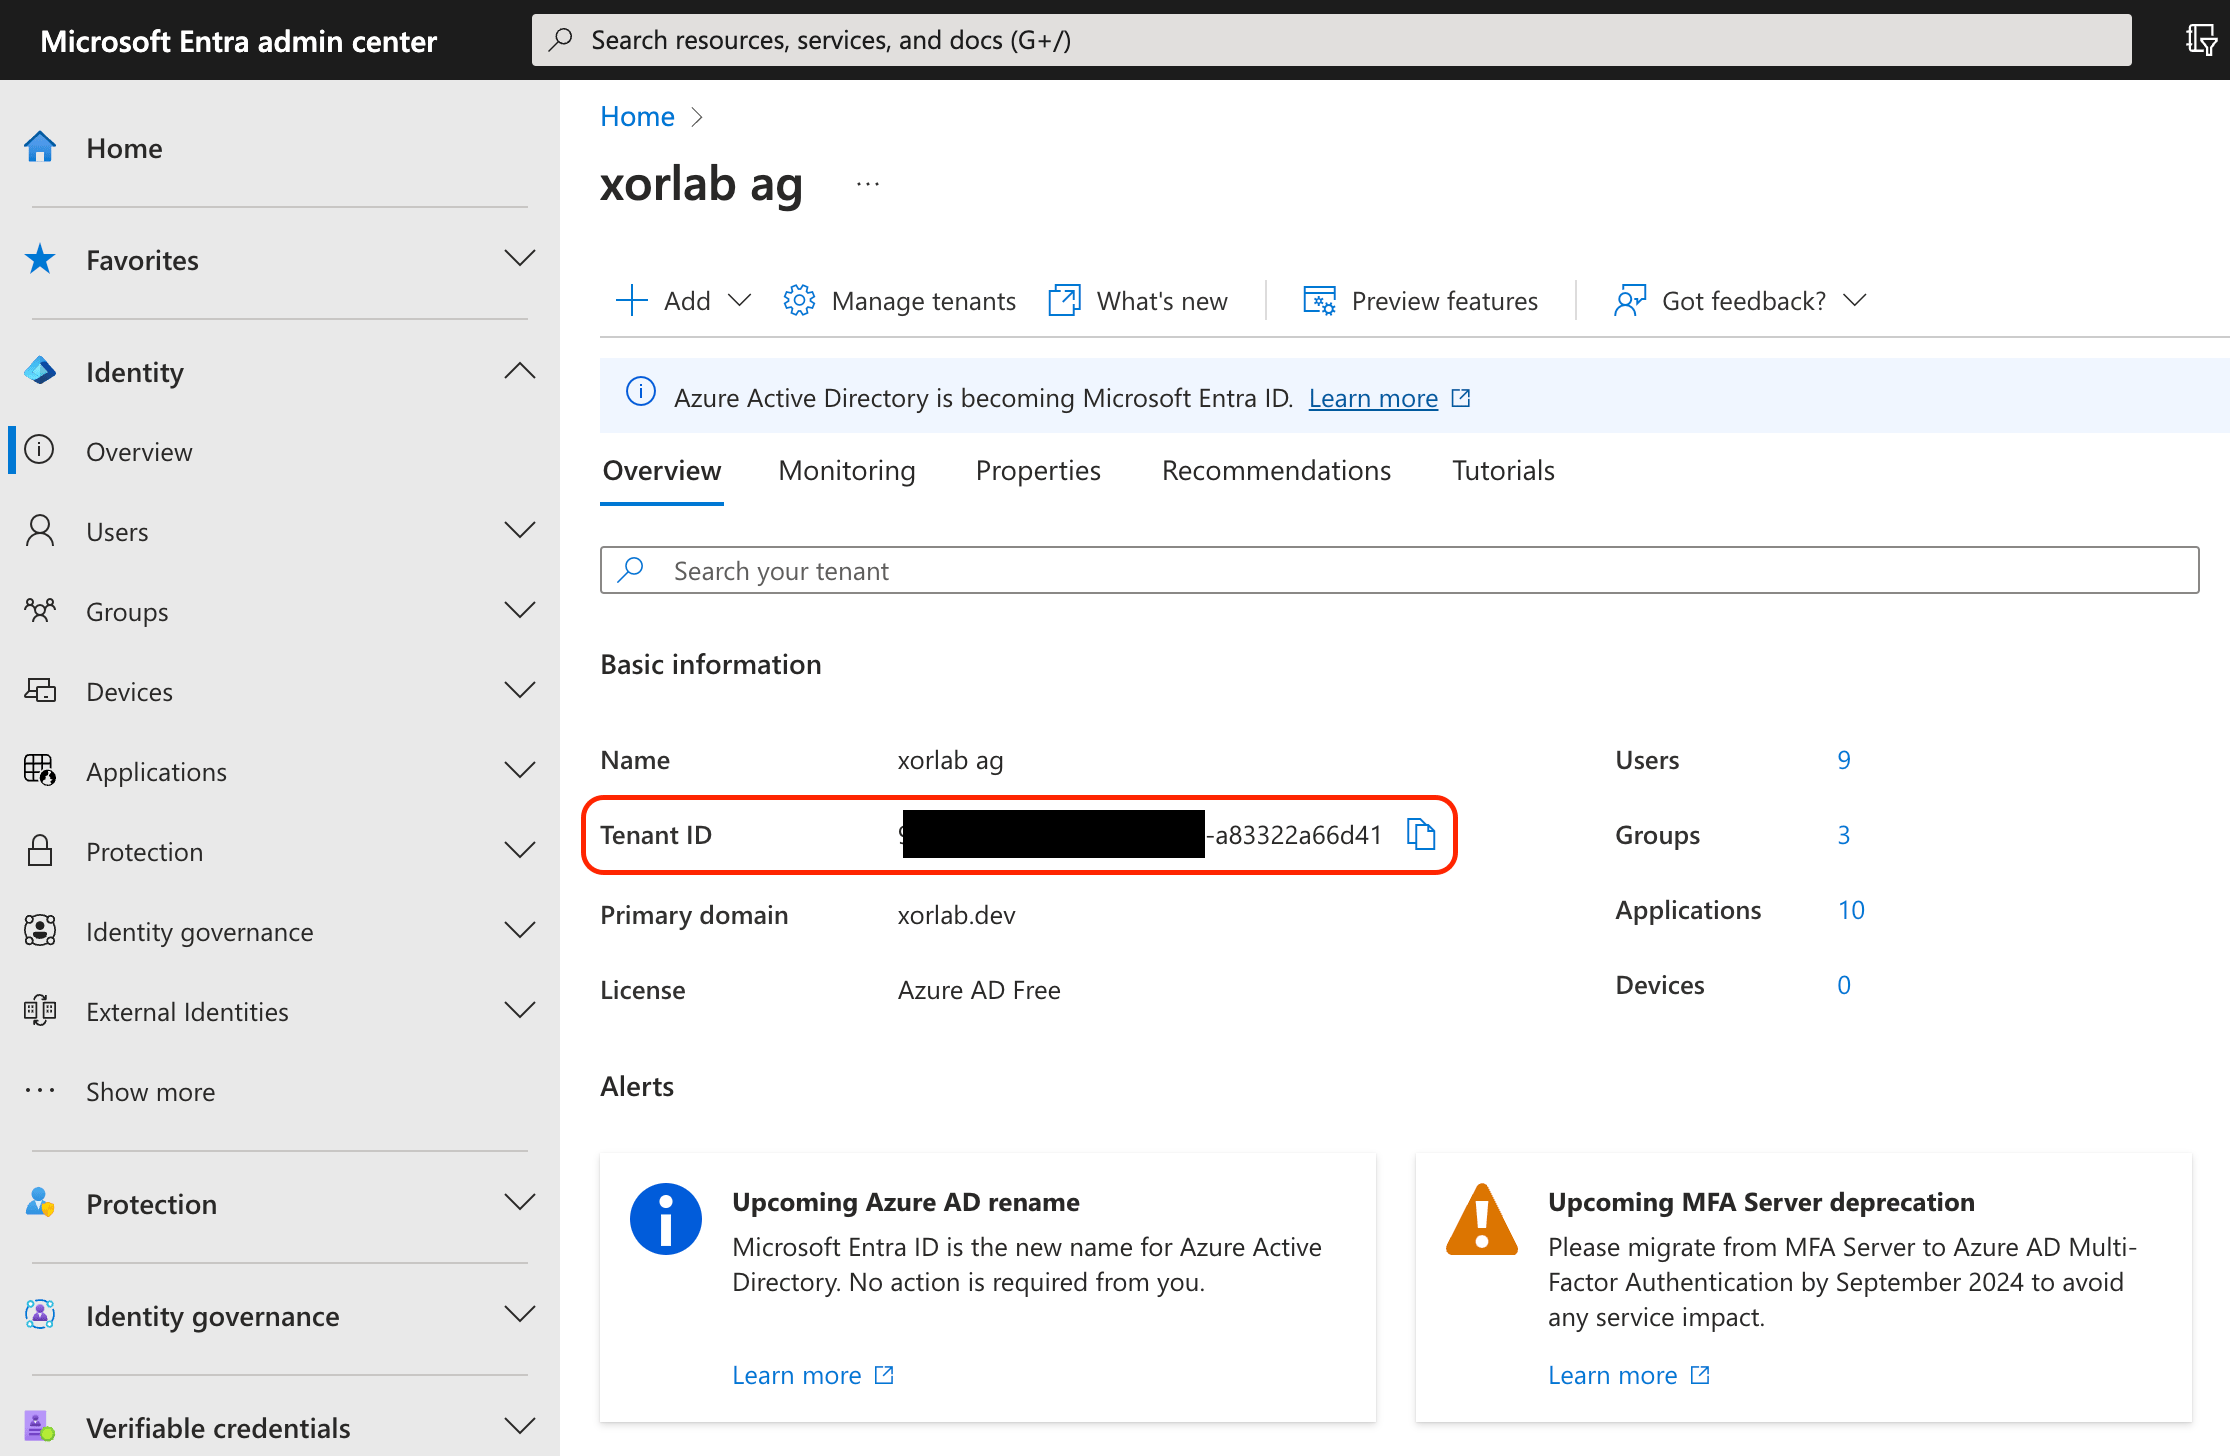
Go to Entra ID Portal → Overview → copy the Tenant ID and keep it for future use.
-
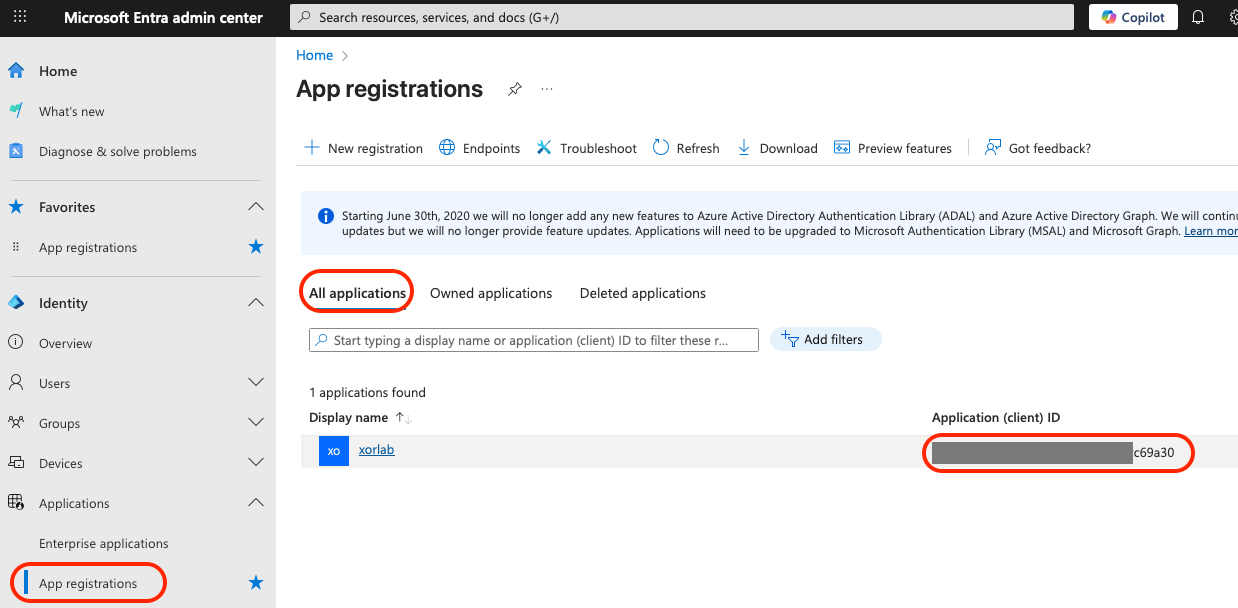
In the menu left, go to App registrations → select All applications → copy the Application (client) ID and keep it for future use.
-
Open the
xorlabapp → Certificates & secrets → Add a certificate or secret in the list in the main view: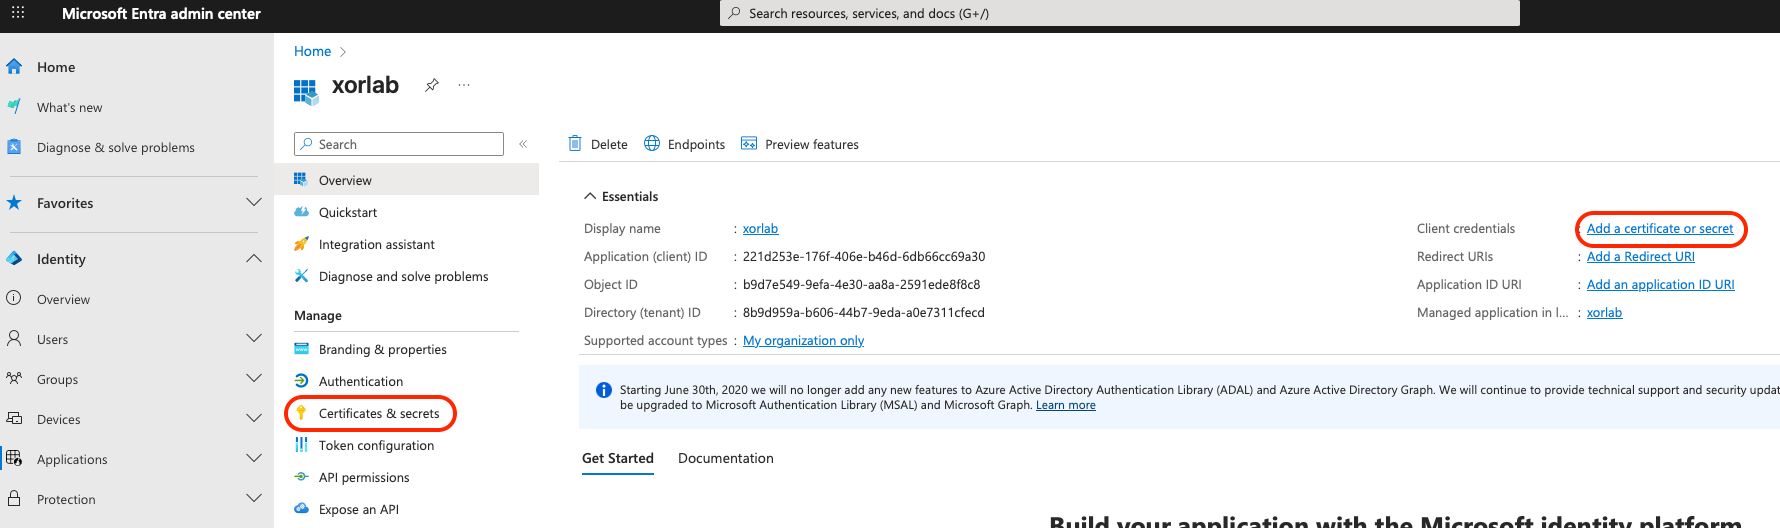
-
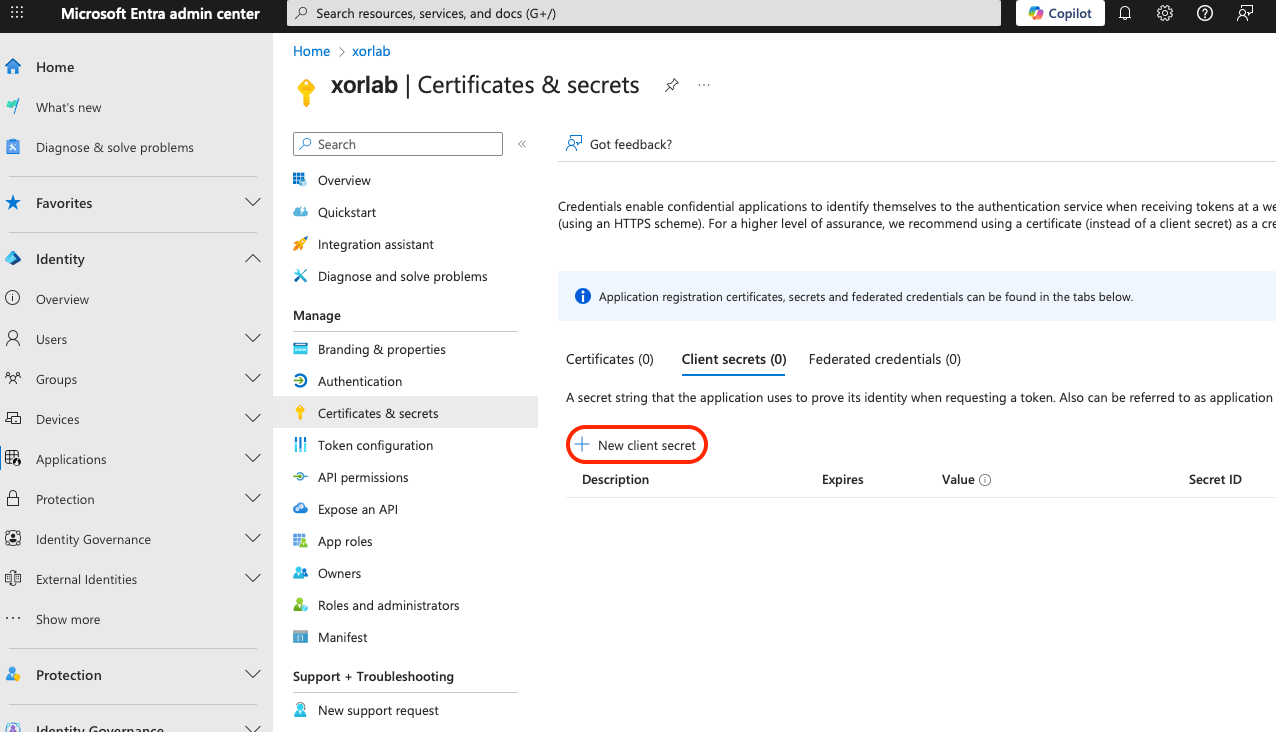
Click New client secret:
-
Enter a description for the client secret and set the expiration time in the Add a client secret pane that shows up on the right. Click Add.
Expiration reminderPlease make sure to set a reminder for the secret expiration date, since there is no warning message or other information from M365 on the expiring secret.
-
Copy the Value of the secret and keep it for future use. This value is displayed only once. If you forget to copy the value or lose it, just delete this secret and create a new one.
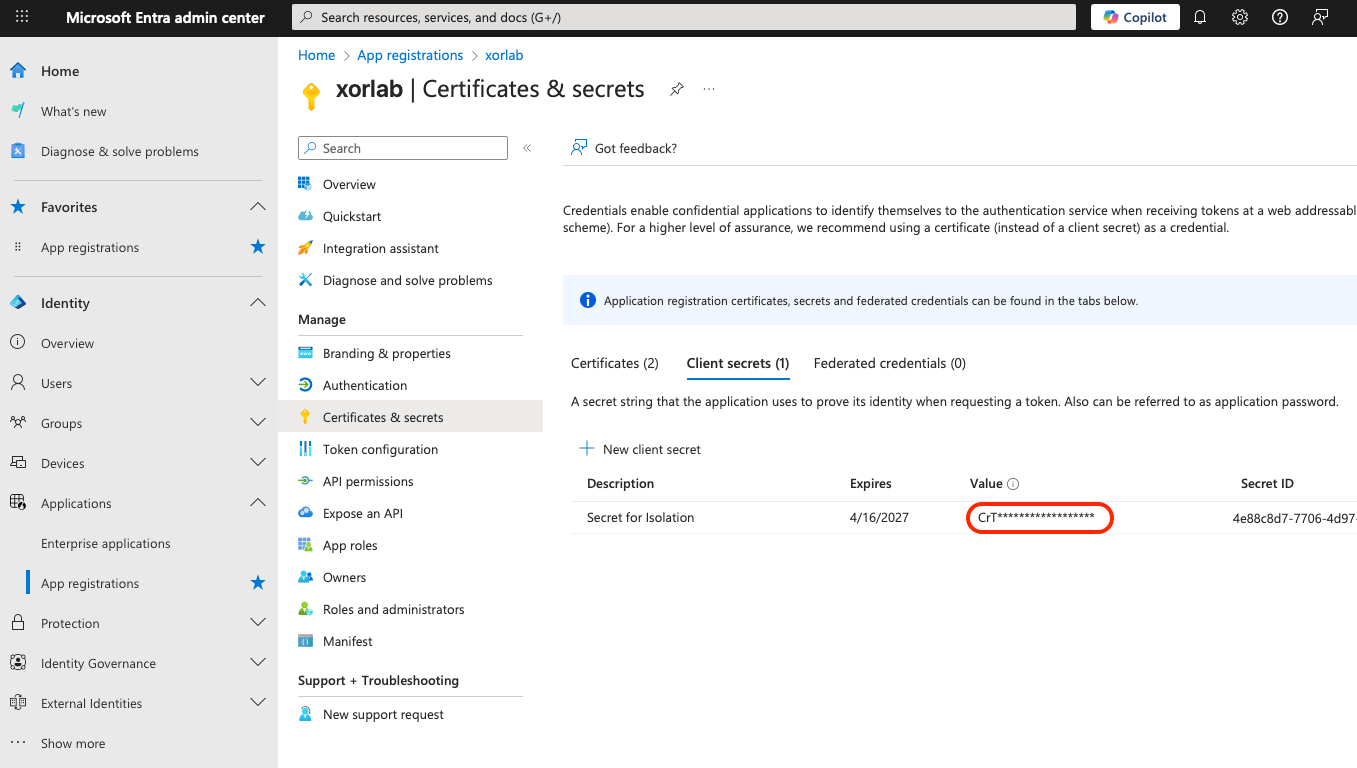
-
Select API permissions from the left pane and click Add a permission:
 Default permissionThere can be a default
User.Readpermission already added to your app. It can be left there. -
Choose Microsoft Graph:
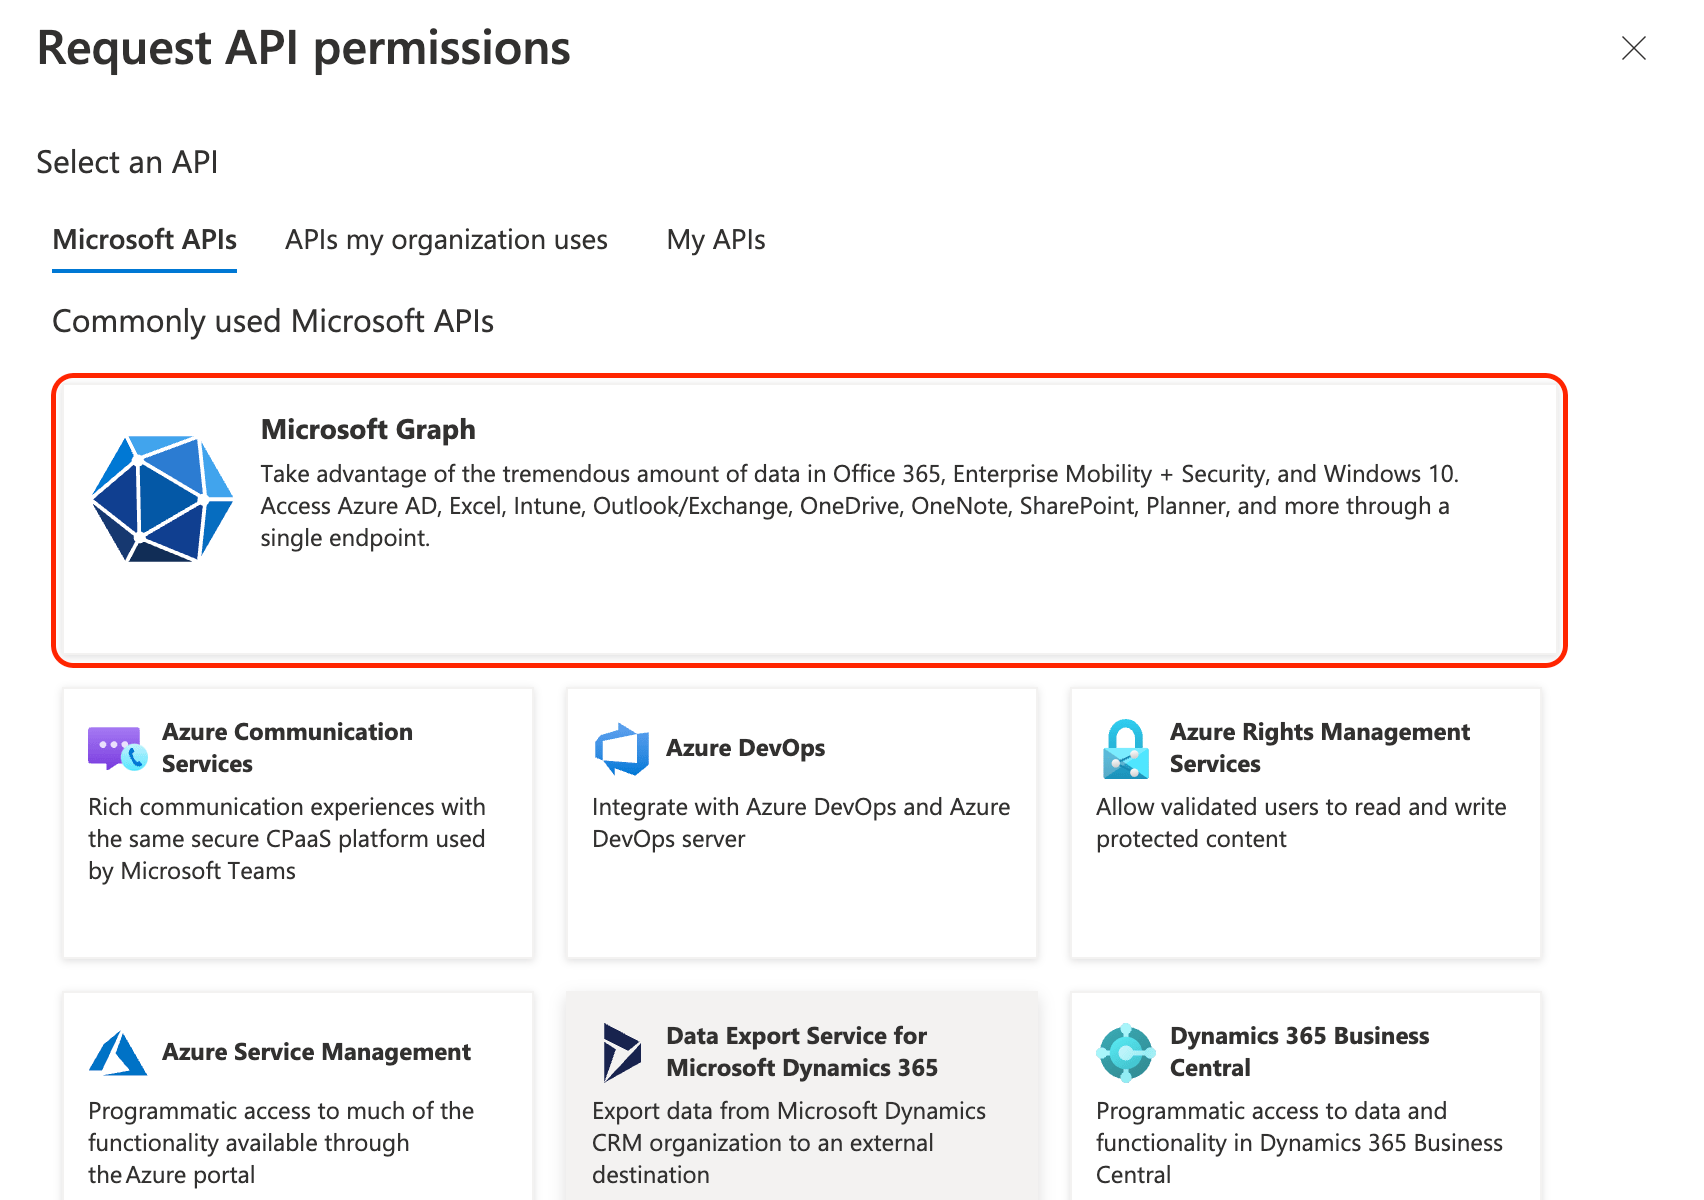
-
Click Application permissions:
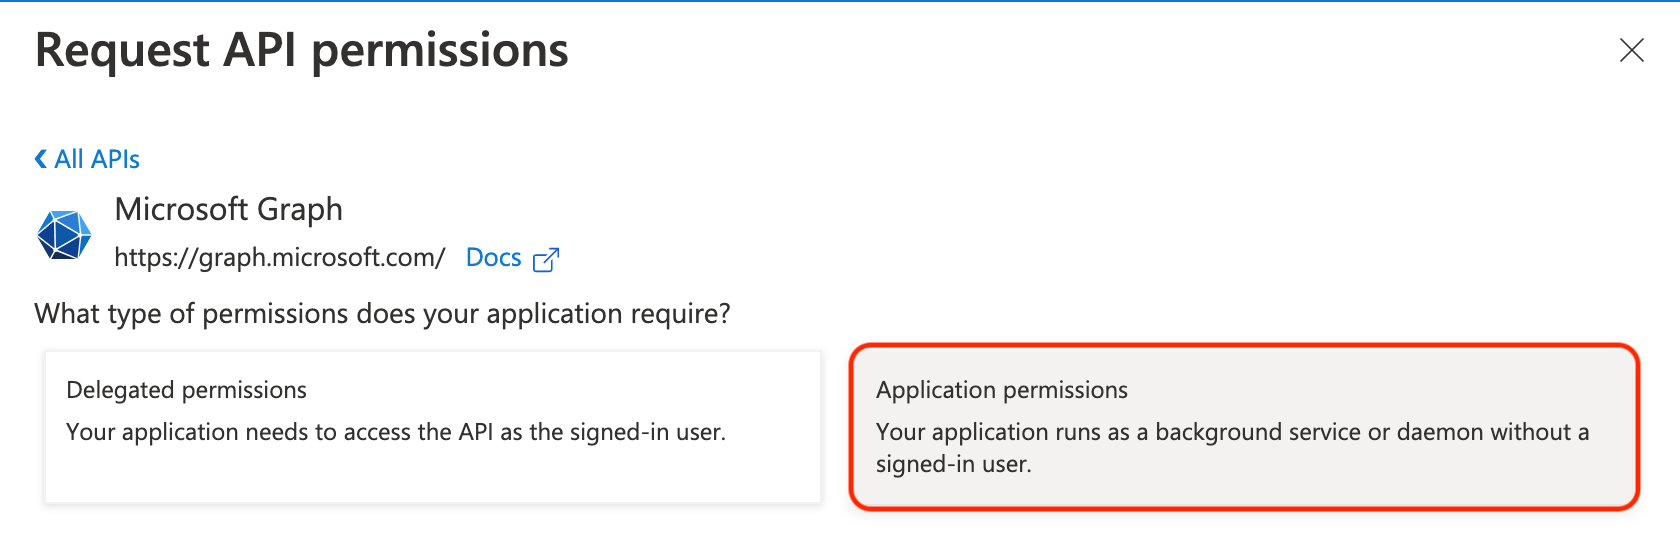
-
Available permissions grouped in categories are displayed. Use the search field to filter the permissions:
-
Filter for
mailand check the box next toMail.ReadWrite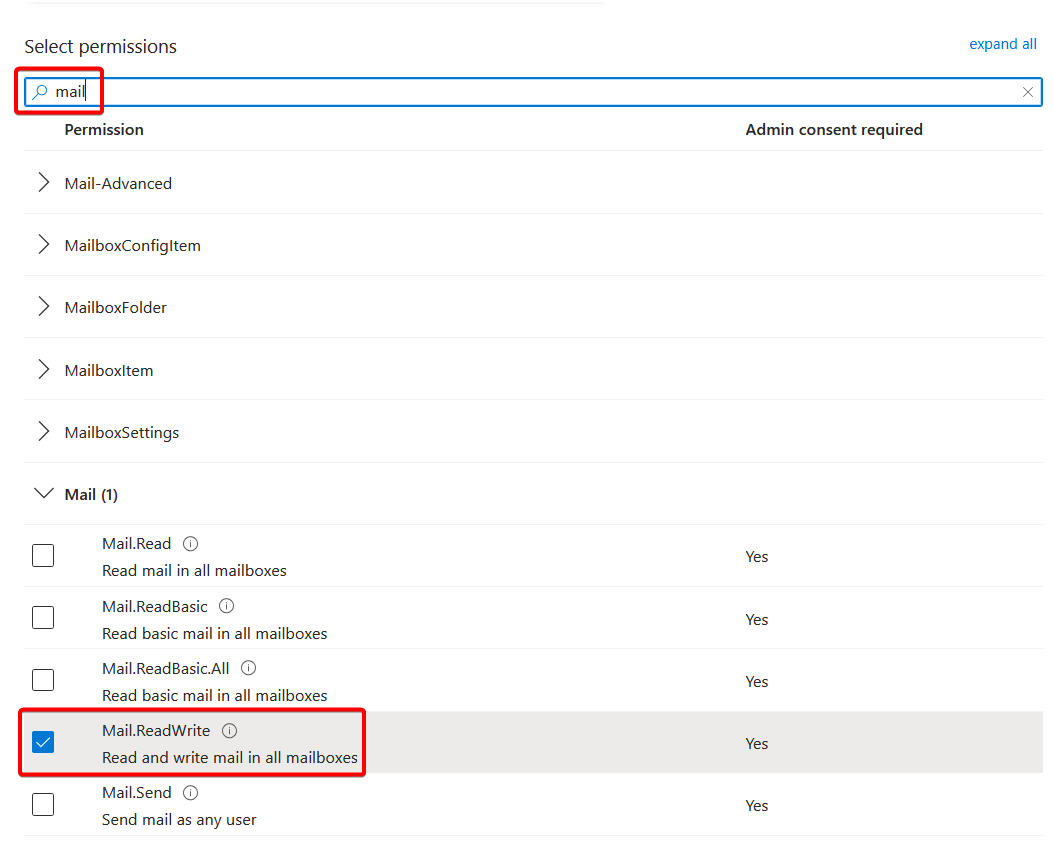
-
Filter for
user.readand check the box next toUser.Read.All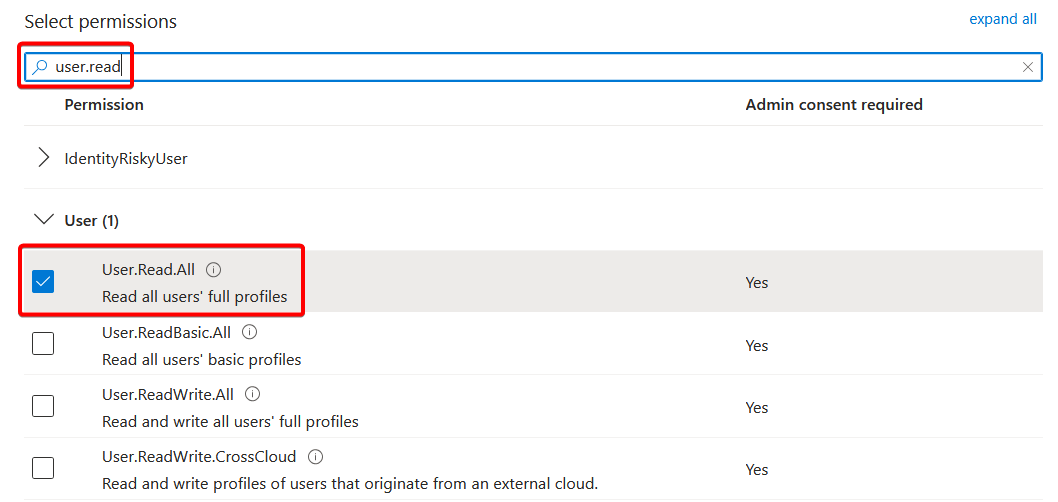
-
Filter for
-
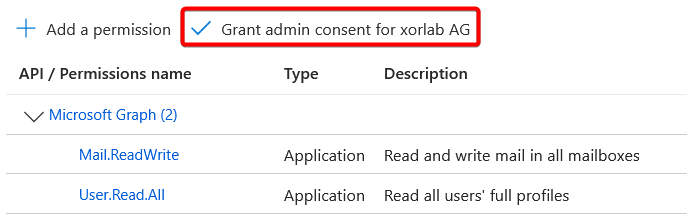
Click Add permissions. On the main API Permissions page, you should see the three new permissions granted. Click the Grant admin consent for… button above the list to apply the permissions change.
Configure xorlab
- In xorlab, open the Admin view in the upper right. If you have more than one tenant, select the one you want to activate case isolation for in the dropdown.
-
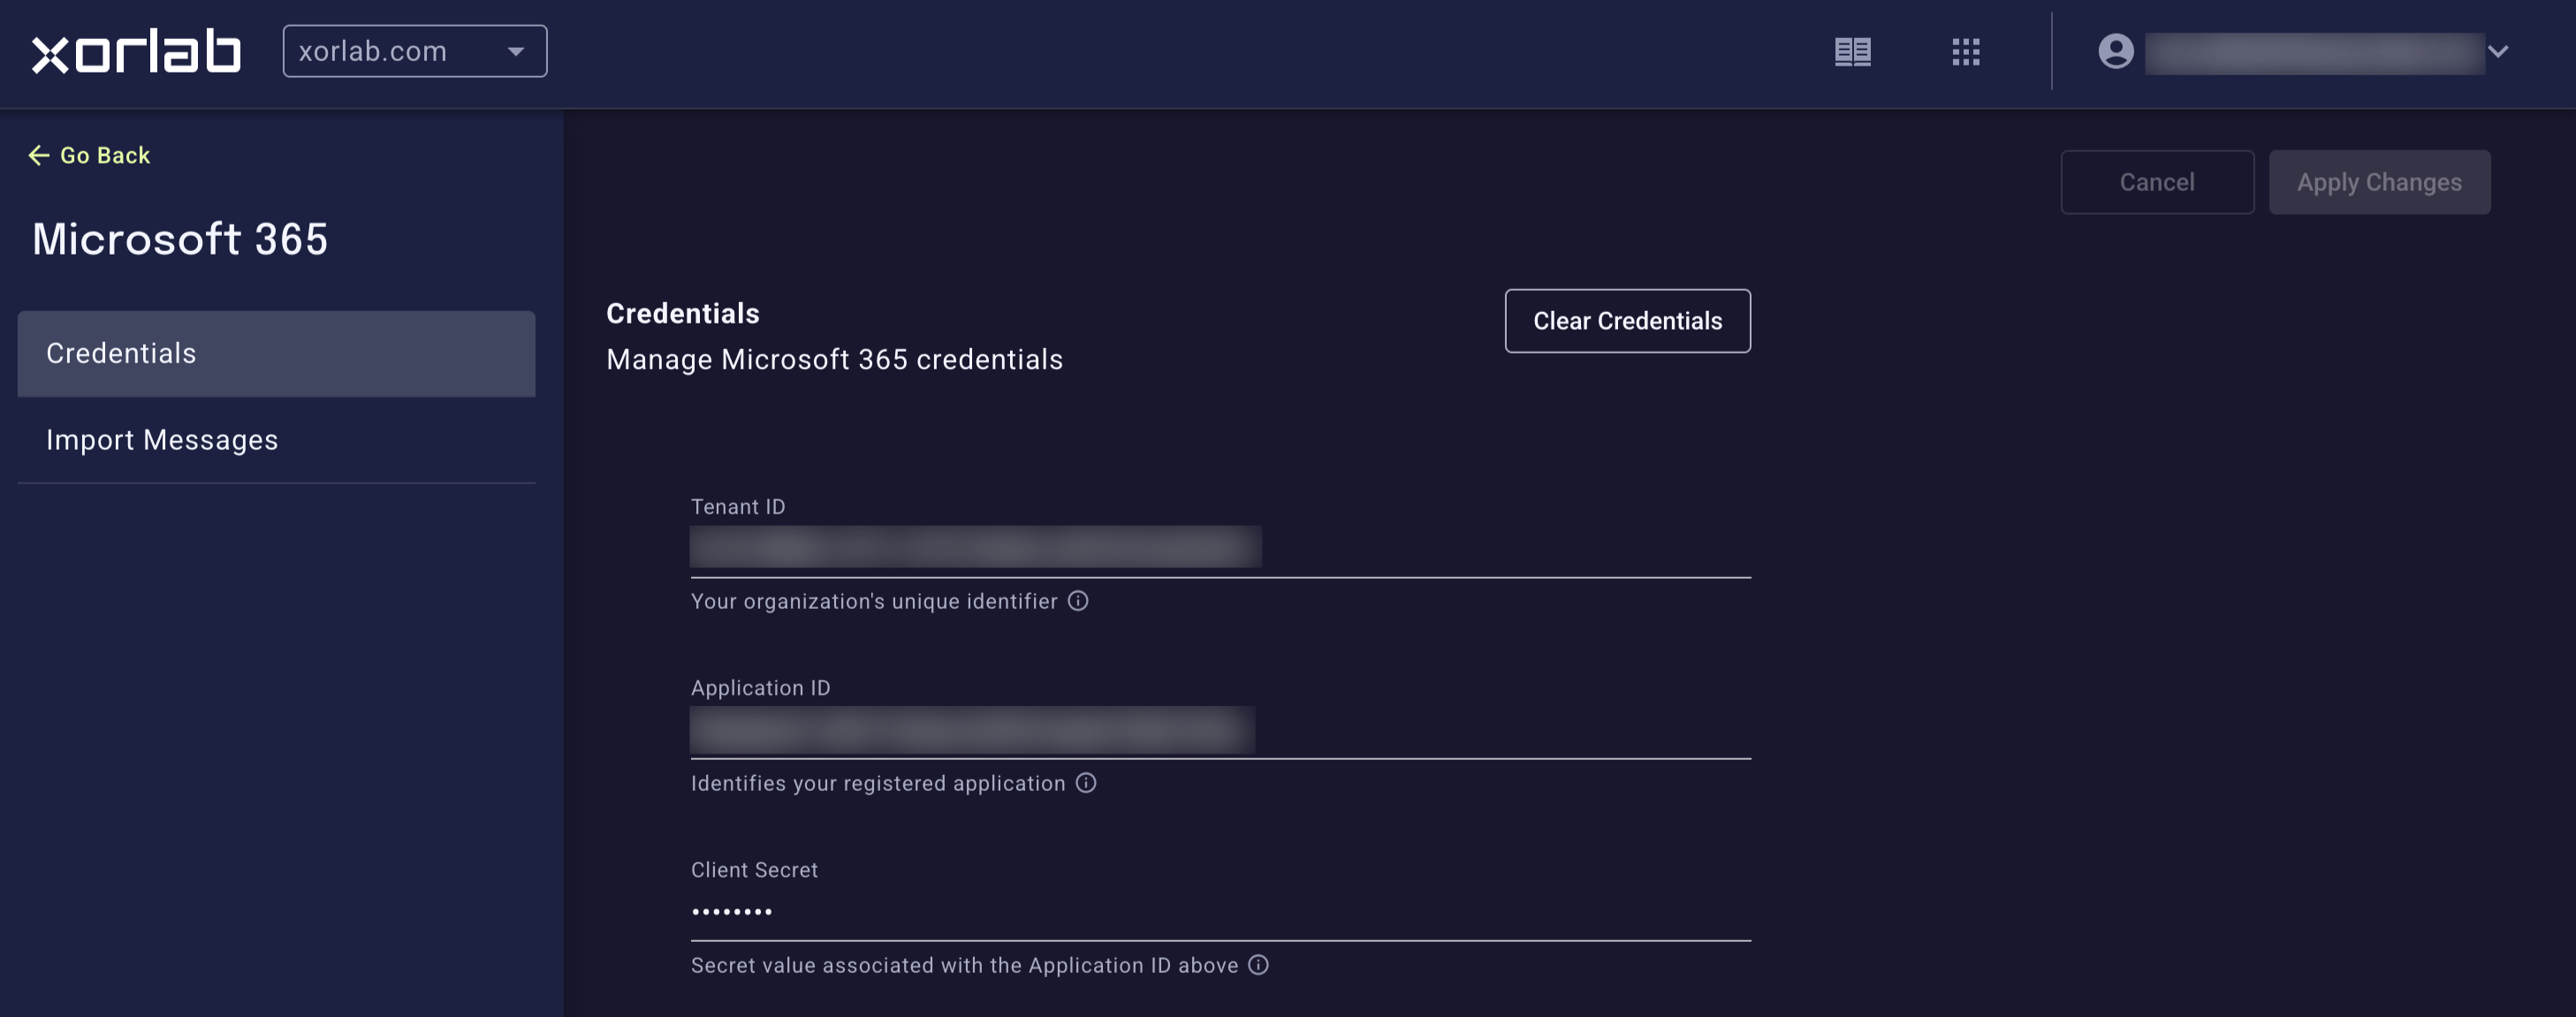
Open Integrations, and add the Tenant ID, Application (client) ID and Client Secret value from before to the Credentials section and save it.
-
Go back to the Expert Editor and open the file
shared/guarded_tenants.yml. -
Enable case isolation for the corresponding tenant by adding these two lines:
shared/guarded_tenants.yml
- Click Publish. Within about one minute, case isolation will be active for that tenant.